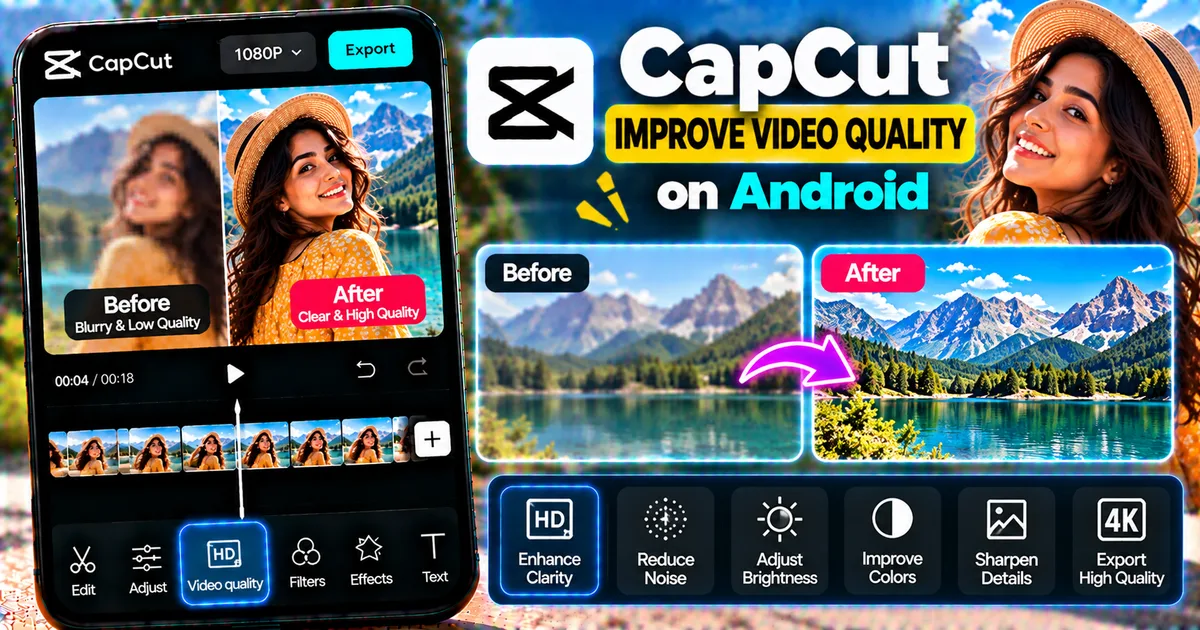

This article is about
CapCut - Download
ByteDance Pte. Ltd. · Education
How to Improve Video Quality in CapCut on Android
GetApkFree Team
Learn how to improve video quality in CapCut on Android, enhance blurry footage, reduce noise, adjust clarity, and export better-quality videos.
- Version
- Latest
- Source
- Google Play
- Package
- external.capcut.en.softonic.com.capcut-download
How to Improve Video Quality in CapCut on Android
Have you recorded a video that looks blurry, noisy, dark, or less detailed than you expected?
You may be able to improve its appearance with CapCut on Android.
CapCut includes video adjustment and enhancement tools that can help improve the visual quality of footage. Depending on your current app version and device, you may have access to options for video quality enhancement, noise reduction, sharpening, color correction, and AI-powered upscaling.
However, editing cannot completely recreate details that were never captured by the original camera. The best results usually come from combining appropriate enhancement settings with good export settings.
In this guide, you'll learn how to improve video quality in CapCut on Android, make blurry footage look clearer, reduce visible noise, improve dark videos, and export the finished video at suitable quality.
Quick Answer
To improve video quality in CapCut on Android, open CapCut, create a new project, and import your video. Select the video clip and open the Adjust controls. Depending on your version, look for Video quality or an enhancement option. Apply the available quality enhancement tools and preview the result.
You can also improve the final result by adjusting brightness, contrast, saturation, and other image controls when appropriate.
When you're finished, export the video using a suitable resolution and frame rate. For high-quality footage, avoid exporting at a lower resolution than necessary.
The exact enhancement tools available can vary by CapCut version, device, region, and account access.
What Does "Improve Video Quality" Mean?
Video quality is affected by several different factors.
A video can look poor because of:
- Low resolution
- Digital noise
- Poor lighting
- Motion blur
- Camera shake
- Excessive compression
- Incorrect exposure
- Weak contrast
- Low detail
- Incorrect export settings
There isn't one setting that fixes every problem.
For example, increasing resolution won't automatically remove motion blur.
Similarly, increasing sharpness won't recreate details that were never captured by the camera.
The goal is to improve the parts of the video that can realistically be improved without creating unnatural-looking footage.
How to Improve Video Quality in CapCut on Android
Follow these steps to improve the appearance of your video.
Step 1: Open CapCut
Launch CapCut on your Android phone.
From the home screen, start a new project.
Step 2: Import Your Video
Select the video you want to improve from your phone's gallery.
Add it to the project timeline.
Wait for the video to load completely before making adjustments.
Step 3: Select the Video Clip
Tap the video clip on the timeline.
This opens the editing controls for the selected clip.
Make sure you select the correct clip if your project contains multiple videos.
Step 4: Open Adjust
Look through the editing controls for Adjust.
CapCut's current mobile guidance includes video-quality enhancement options under the adjustment controls.
The exact menu may look different depending on your current version of the app.
Step 5: Look for Video Quality or Enhancement
Look for an option related to Video quality or enhancement.
Depending on the version and device, CapCut may provide tools designed to improve clarity, reduce noise, or enhance the overall appearance of the footage.
Select the available enhancement option and preview the result.
Step 6: Compare the Original and Enhanced Video
Don't assume that the strongest enhancement setting is automatically the best.
Compare the original footage with the enhanced version.
Look closely at:
- Faces
- Hair
- Fine details
- Text
- Backgrounds
- Edges
- Shadows
- Bright areas
If the enhanced version starts looking artificial, reduce the effect if an intensity control is available.
Step 7: Make Additional Adjustments
After improving the basic quality, you can make small manual adjustments if necessary.
Depending on your footage, you may adjust:
- Brightness
- Contrast
- Saturation
- Exposure
- Temperature
- Highlights
- Shadows
- Sharpness
Don't change every setting just because it is available.
Only adjust the controls that solve a visible problem.
Step 8: Preview the Complete Video
Play the entire video.
A setting that looks good on one frame may not look good throughout the entire clip.
Check different scenes, especially if the lighting changes during the recording.
Step 9: Export at Suitable Quality
When you're satisfied with the result, tap Export.
Choose the appropriate resolution and frame rate available for your project.
If your original video is high resolution, avoid unnecessarily exporting it at a much lower resolution.
Then start the export.
How to Make a Blurry Video Clearer in CapCut
Blurry footage is one of the most common reasons people look for video-quality enhancement tools.
CapCut's enhancement features may help improve the appearance of some low-quality footage, but the result depends heavily on the original video.
If the video is slightly soft or compressed, enhancement may make edges and details appear clearer.
If the video is severely out of focus, however, no editing tool can reliably reconstruct all of the missing detail.
Try This Workflow
- Import the blurry video.
- Select the clip.
- Open Adjust.
- Look for the available video-quality enhancement option.
- Apply the enhancement.
- Preview faces and fine details.
- Reduce the effect if the image becomes unnatural.
- Export using appropriate quality settings.
Avoid excessive sharpening.
Too much sharpening can create halos around objects and make compression artifacts more obvious.
How to Improve a Low-Resolution Video in CapCut
Low-resolution footage contains less visual information than high-resolution footage.
CapCut can use enhancement or upscaling tools to produce a higher-resolution output, where available.
Current CapCut documentation describes mobile video-quality enhancement and AI-based upscaling workflows.
However, increasing a video's output resolution does not magically recreate all the original detail.
For example, exporting a very small video at a higher resolution does not turn it into genuine high-resolution camera footage.
Use enhancement to improve the appearance rather than expecting it to completely transform poor source material.
How to Reduce Noise in a Video
Digital noise can appear as grainy or speckled patterns, especially in footage recorded in low light.
CapCut's current enhancement guidance includes noise-reduction capabilities.
A typical workflow is:
- Import the video.
- Select the clip.
- Open the adjustment or enhancement tools.
- Use the available noise-reduction or video-quality option.
- Preview dark areas.
- Compare the result with the original.
- Export when the image looks clean without excessive smoothing.
Be careful with aggressive noise reduction.
Too much processing can remove fine details and make faces or textures look overly smooth.
How to Improve a Dark Video
A dark video may need exposure or brightness adjustments rather than simple resolution enhancement.
Select the clip and open the adjustment controls.
Depending on the footage, you can carefully increase brightness or exposure.
You can also adjust shadows if the important details are hidden in darker areas.
Avoid making the entire video extremely bright.
Over-brightening can create washed-out highlights and reveal more noise in dark footage.
A better approach is to make small changes while watching the preview.
How to Improve Video Colors in CapCut
Sometimes a video looks technically clear but still feels dull.
In that situation, color adjustments can make a larger difference than sharpening.
You can experiment with:
- Contrast
- Saturation
- Temperature
- Exposure
- Highlights
- Shadows
You can also use a filter as a starting point.
For more information, see our guide on [how to add filters in CapCut on Android].
The goal should be natural-looking improvement rather than simply making every color more intense.
How to Improve a Shaky Video
Camera shake can make otherwise high-quality footage difficult to watch.
Increasing resolution won't solve this problem.
Instead, use CapCut's stabilization tools when appropriate.
A stabilization workflow can help reduce unwanted camera movement before you work on other quality adjustments.
See our guide on [how to stabilize shaky video in CapCut on Android].
After stabilization, preview the edges of the frame.
Stabilization can sometimes change framing or crop the footage slightly.
How to Improve Video Quality Before Exporting
The final export settings can have a major effect on the finished file.
Before exporting, check:
- Resolution
- Frame rate
- Quality or bitrate settings when available
- Project aspect ratio
- Source footage quality
For example, exporting a high-quality project at a significantly lower resolution can reduce the final detail.
On the other hand, exporting everything at the highest possible resolution is not always necessary.
Choose settings that match your source footage and destination.
1080p vs 4K in CapCut
If your source video was recorded in 4K, exporting at 4K can help preserve the available detail.
If your source video was recorded at 1080p, exporting at 4K does not create the same detail as footage originally captured in 4K.
CapCut supports different export resolutions depending on the project, device, and current version.
For a detailed guide, see [how to export 4K videos in CapCut on Android].
Does Increasing Resolution Improve Video Quality?
Not always.
Resolution and visual quality are related, but they are not identical.
A higher-resolution output can provide a larger frame, but it cannot automatically restore details that were lost in the original recording.
For example:
Original: Low-resolution, heavily blurred footage
Export: High-resolution file
Result: A larger video, but not necessarily genuinely detailed footage
AI enhancement can sometimes reconstruct or estimate additional detail, but results vary with the source video.
How to Make a Video Look More Professional
Video quality isn't only about resolution.
A professional-looking video usually depends on several factors working together.
Start with good footage
The camera source matters.
Good lighting and stable recording provide a stronger foundation.
Correct exposure
Make sure important subjects aren't excessively dark or overexposed.
Control colors
Use filters or manual adjustments carefully.
Reduce distracting noise
Noise reduction can help when footage is visibly grainy.
Stabilize shaky footage
Use stabilization when camera movement is distracting.
Export appropriately
Choose resolution and frame rate based on the original recording and final destination.
How to Improve Video Quality for Instagram Reels
If you're preparing a video for Instagram Reels, first make sure the project uses an appropriate vertical aspect ratio.
Then:
- Import your footage.
- Crop or resize if necessary.
- Improve exposure and color.
- Apply quality enhancement if useful.
- Check for noise and blur.
- Preview the entire video.
- Export using suitable settings.
Avoid repeatedly exporting and re-importing the same video.
Each additional compression step can potentially reduce quality.
How to Improve Video Quality for YouTube Shorts
For YouTube Shorts, start with the best source footage available.
Use CapCut to correct:
- Framing
- Exposure
- Color
- Noise
- Stability
- Overall clarity
Then export using settings appropriate for the source and destination.
Always inspect the exported file before uploading it.
How to Improve Video Quality for TikTok
The same general principle applies to TikTok.
Start with the original recording whenever possible.
Avoid taking an already compressed video from another platform and repeatedly exporting it through multiple apps.
Instead:
Original footage → CapCut editing → Quality adjustment → Final export → Upload
This can help avoid unnecessary generations of compression.
Can CapCut Fix a Very Blurry Video?
It depends on why the video is blurry.
Slight softness
Enhancement may make the footage appear clearer.
Compression blur
Some detail may be improved, but heavily compressed footage has limitations.
Motion blur
Enhancement may not completely remove motion blur.
Out-of-focus footage
Severely out-of-focus footage is difficult to recover because the original detail was never captured sharply.
Low-resolution footage
Upscaling can produce a larger and potentially cleaner-looking result, but it doesn't guarantee genuine new detail.
Can CapCut Improve Old Videos?
Yes, CapCut can be used to enhance older or lower-quality footage when the relevant enhancement tools are available.
However, results depend on the original file.
Old footage may have:
- Low resolution
- Compression artifacts
- Noise
- Faded colors
- Poor exposure
- Motion blur
Different problems require different approaches.
Don't expect one enhancement button to solve all of them.
How to Improve Video Quality Without Making It Look Artificial
This is one of the most important parts of video enhancement.
Strong sharpening and AI processing can sometimes create unnatural edges or overly smooth textures.
To avoid this:
- Compare the original and enhanced versions.
- Use moderate settings.
- Check faces closely.
- Check hair and fine details.
- Watch dark areas for excessive smoothing.
- Watch bright edges for halos.
- Avoid unnecessary processing.
- Export once using appropriate settings.
Natural-looking footage is usually better than footage that is technically sharper but visibly overprocessed.
Common CapCut Video Quality Problems
My enhanced video still looks blurry
The original footage may be too soft, heavily compressed, or out of focus.
Try using moderate enhancement and avoid excessive scaling.
My video looks too sharp
Reduce the enhancement or sharpening strength if the current controls provide that option.
Over-sharpening can create unnatural edges.
My face looks artificial after enhancement
AI processing and aggressive sharpening can sometimes alter fine facial details.
Try reducing the enhancement strength or using a more natural adjustment.
My video became too bright
Review brightness and exposure adjustments.
Don't increase several brightness-related controls at the same time unless necessary.
My video has too much noise
Use available noise-reduction tools and preview the darkest parts of the footage.
If noise reduction becomes too strong, it can remove fine details.
The video quality looks good in CapCut but worse after uploading
Social platforms may process uploaded videos again.
Start with a good-quality source and use appropriate export settings.
Avoid repeatedly compressing the video before upload.
I don't see the Video Quality option
CapCut's tools and interface can change between versions.
The availability of AI or enhancement features may also depend on device, region, app version, and account access.
Update CapCut if an update is available and check the current Adjust or enhancement controls.
Tips for Better Video Quality in CapCut
Use the original video
Whenever possible, edit the original camera file instead of a previously compressed copy.
Don't upscale unnecessarily
Higher resolution doesn't automatically mean higher visual quality.
Use enhancement moderately
Strong processing can make footage look artificial.
Fix the actual problem
Use stabilization for shake, noise reduction for grain, and color adjustments for dull footage.
Avoid repeated exports
Keep a high-quality master file and perform your editing from that source.
Check the final export
Don't judge the video only inside the editor.
Open the exported file and inspect it before publishing.
Match frame rate to the source
If your source footage was recorded at a particular frame rate, avoid changing it unnecessarily.
Match resolution to your destination
Choose an export resolution appropriate for the platform and the original footage.
Frequently Asked Questions
Can I improve video quality in CapCut on Android?
Yes. CapCut's mobile editor provides video adjustment and enhancement tools that can improve the appearance of supported footage.
Can CapCut make a blurry video clear?
CapCut can sometimes improve the appearance of slightly blurry or low-quality footage, but severely out-of-focus or heavily blurred video has limits.
Can CapCut increase video resolution?
Yes. CapCut provides video enhancement and upscaling options, although the exact features available can vary by version, device, region, and account access.
Can I improve a 720p video to 1080p in CapCut?
CapCut can upscale video to a higher output resolution when the relevant export or enhancement options are available. However, the higher output resolution does not guarantee the same level of detail as footage originally recorded at 1080p.
Can CapCut improve 4K video quality?
CapCut can apply enhancement and adjustment tools to 4K footage where supported. You should avoid unnecessary processing if the original video is already high quality.
Does CapCut remove video noise?
CapCut provides noise-reduction and enhancement tools in supported versions.
Does improving video quality increase file size?
It can. Higher resolution and higher-quality export settings generally require more storage.
Can I improve video quality without losing quality?
Editing and re-encoding can affect a video's quality. To minimize unnecessary loss, start with the highest-quality original footage available and avoid repeatedly exporting and re-importing the same file.
Can I improve video quality for Instagram?
Yes. You can improve footage in CapCut and then export it using settings appropriate for Instagram's intended format.
Can I improve video quality for YouTube?
Yes. CapCut can be used to adjust and enhance footage before exporting it for YouTube.
Final Thoughts
Improving video quality in CapCut on Android isn't simply about choosing the highest resolution.
Start with the best original footage available, identify the actual problem, and then use the appropriate tool.
For blurry footage, enhancement may help.
For noisy footage, noise reduction can be useful.
For dark footage, exposure and brightness adjustments may help.
For shaky footage, stabilization is more appropriate.
For color problems, filters and manual adjustments can make a difference.
Finally, choose suitable export settings and inspect the finished file before uploading it.
The best video enhancement is usually the one that makes the footage look cleaner and more natural without making it appear heavily processed.
Related Articles
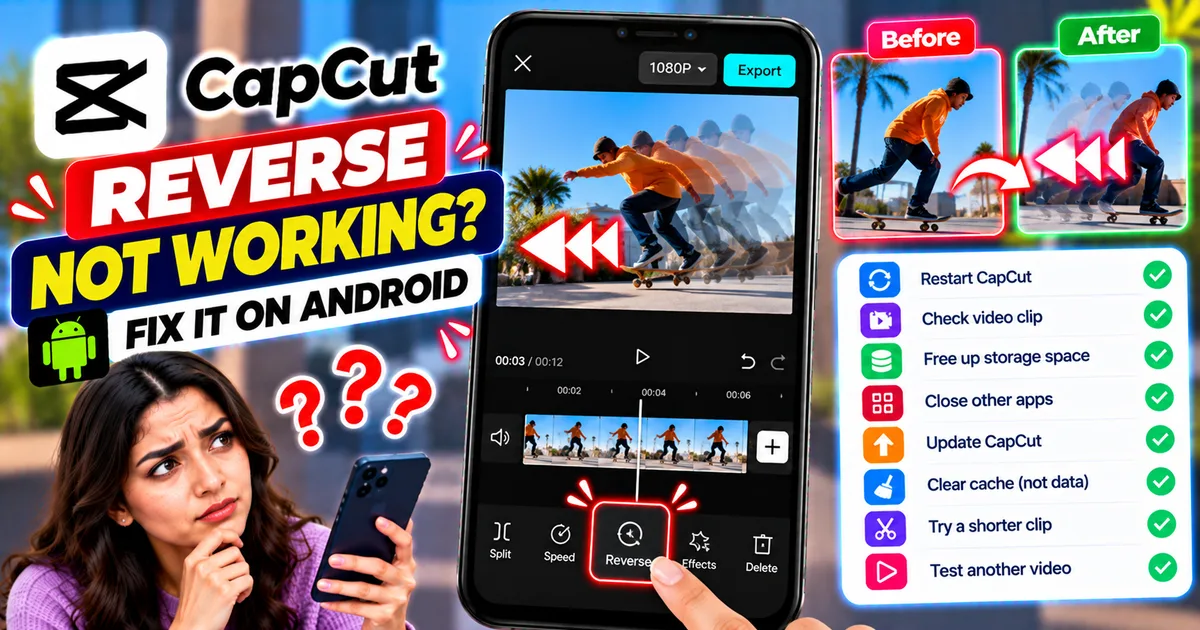
How to Fix CapCut Reverse Not Working on Android
Fix CapCut reverse not working on Android with practical steps for stuck processing, failed reverse effects, unsupported clips, low storage, and app issues.
GetApkFree Team
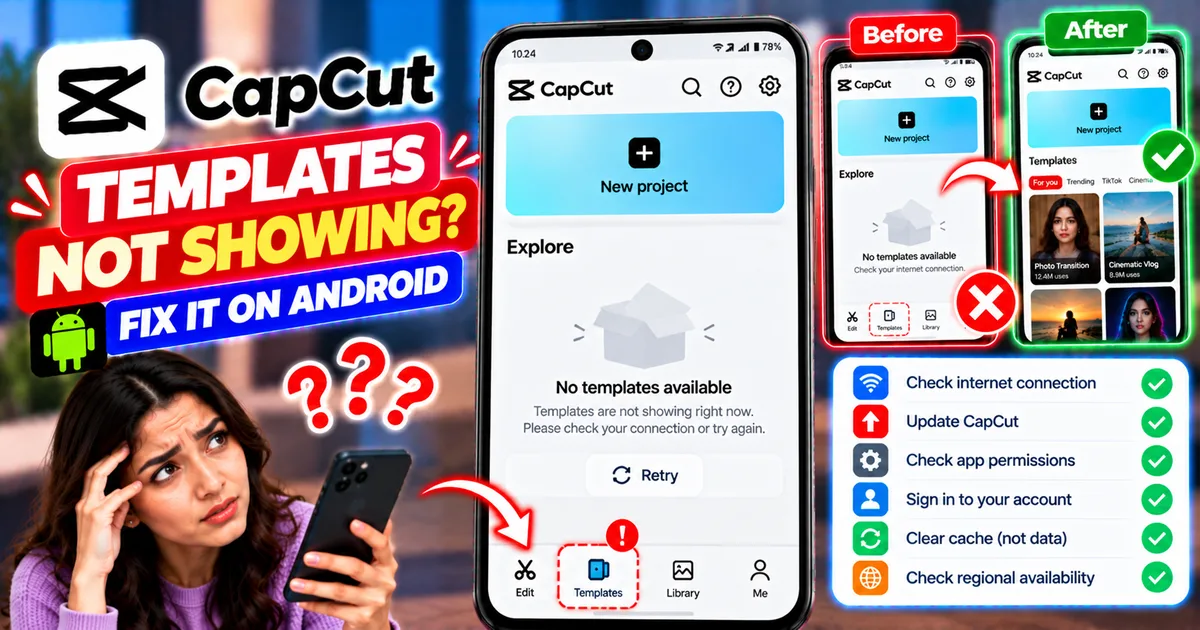
How to Fix CapCut Templates Not Showing on Android
CapCut templates not showing on Android? Find the missing Templates tab, fix an empty template library, check regional availability, and troubleshoot loading issues.
GetApkFree Team
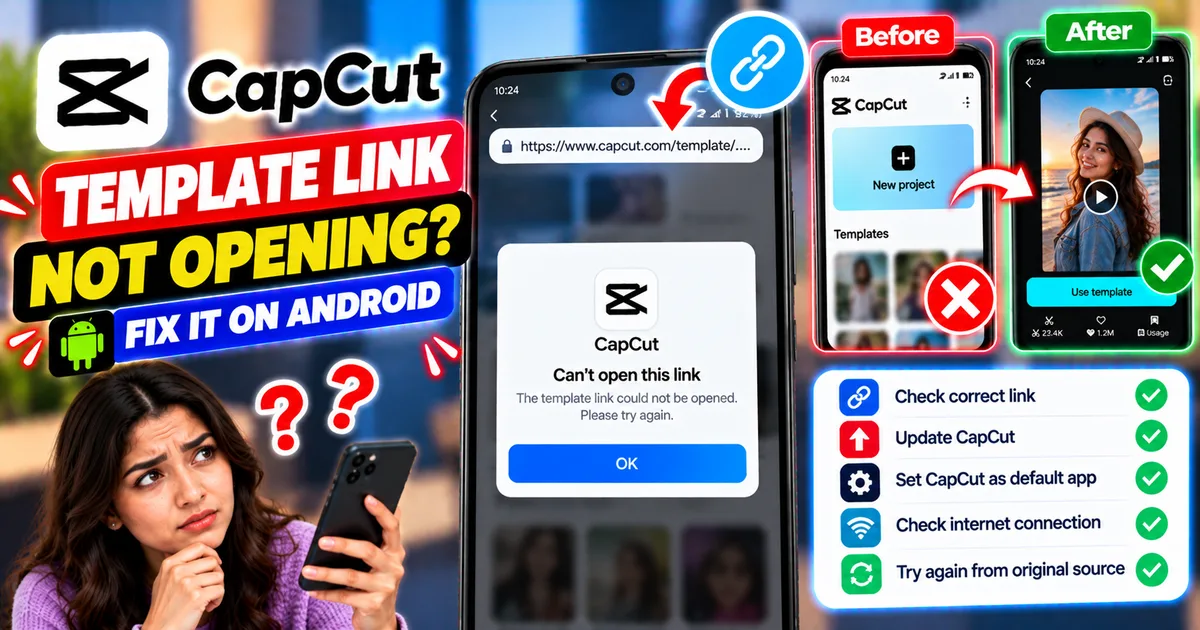
How to Fix CapCut Template Link Not Opening on Android
CapCut template links not opening on Android? Fix links that open the wrong template, redirect to the home screen, or fail to launch CapCut.
GetApkFree Team
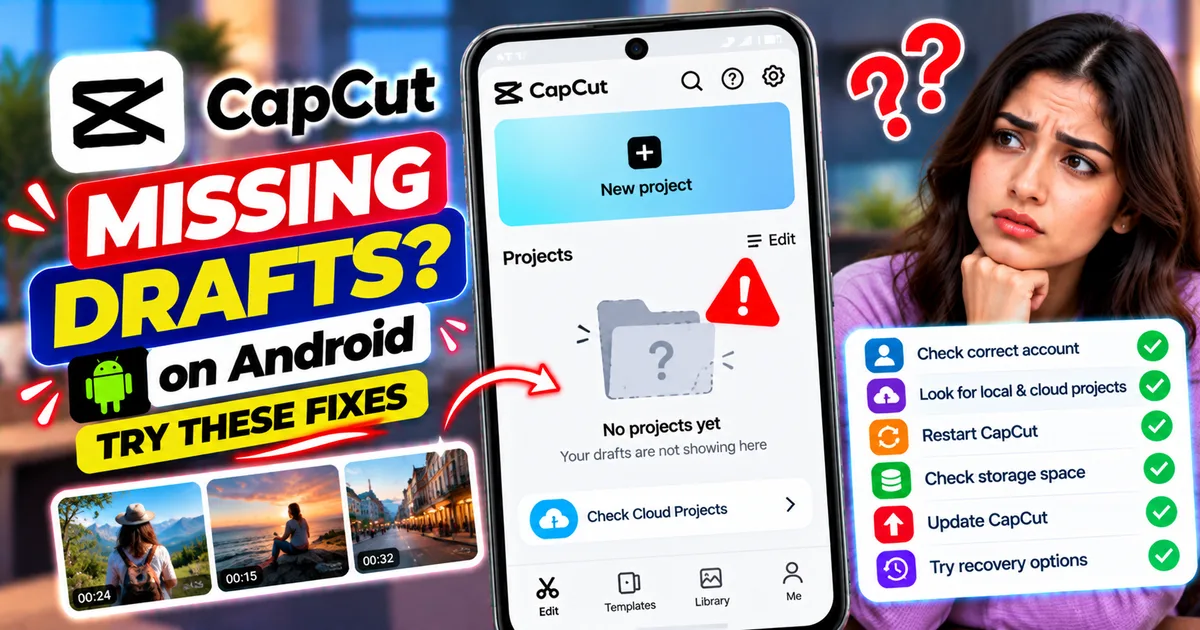
How to Fix CapCut Drafts Disappeared on Android
CapCut drafts disappeared on Android? Check your project list, account, local storage, and recovery options without risking unfinished video edits.
GetApkFree Team