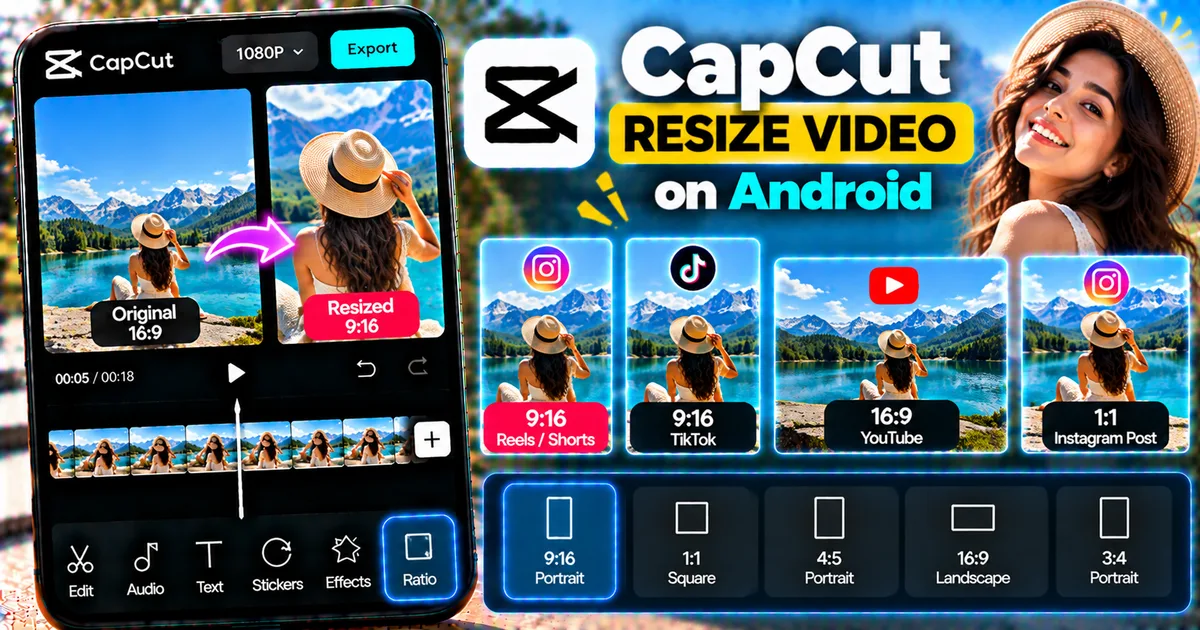

This article is about
CapCut - Download
ByteDance Pte. Ltd. · Education
How to Resize a Video in CapCut on Android
GetApkFree Team
Learn how to resize a video in CapCut on Android, change aspect ratio, fit videos for Reels, Shorts and TikTok, crop footage, and avoid unwanted cropping.
- Version
- Latest
- Source
- Google Play
- Package
- external.capcut.en.softonic.com.capcut-download
How to Resize a Video in CapCut on Android
Want to change the size or shape of a video before posting it on social media?
CapCut on Android lets you adjust the framing and aspect ratio of your video so it can fit different platforms and screen formats.
You can use the resize and ratio controls when you need to turn a horizontal video into a vertical video, prepare footage for Instagram Reels or YouTube Shorts, create a landscape video for YouTube, or change the framing of a clip without completely rebuilding your project.
In this guide, you'll learn how to resize a video in CapCut on Android, change its aspect ratio, convert horizontal video to vertical, convert vertical video to landscape, avoid unwanted cropping, and choose the right format for different platforms.
Quick Answer
To resize a video in CapCut on Android, open CapCut and create a new project. Import your video and select the clip. Open the available Ratio, Crop, Canvas, or similar framing controls and choose the aspect ratio you need.
For example, you can use a vertical 9:16 frame for many short-form videos or a 16:9 frame for traditional landscape video.
After choosing the new frame, reposition or scale the video so important parts remain visible. Preview the entire project and export it using suitable resolution and frame-rate settings.
The exact location and names of some controls can change between CapCut versions.
What Does Resizing a Video Mean?
The word "resize" can mean several different things when working with video.
It can refer to:
- Changing the aspect ratio
- Changing the resolution
- Changing how the video fits inside the frame
- Cropping part of the image
- Making a horizontal video vertical
- Making a vertical video horizontal
- Reducing the final file size
These are not exactly the same operation.
For example, changing a project from 16:9 to 9:16 changes the shape of the video frame.
Changing 4K to 1080p changes the output resolution.
Compressing a video changes its file size.
This article focuses primarily on changing the video's framing and aspect ratio in CapCut on Android.
Common Video Aspect Ratios
Before resizing your video, it helps to understand aspect ratio.
Aspect ratio describes the relationship between the width and height of a video frame.
Some common formats include:
16:9
A wide landscape format commonly used for traditional YouTube videos and other horizontal content.
9:16
A vertical format commonly used for short-form mobile content such as Reels, Shorts, TikTok videos, and Stories.
1:1
A square format that can be useful for certain social media posts.
4:5
A vertical format used for some social media feed content.
The ideal ratio depends on where you plan to publish the video.
How to Resize a Video in CapCut on Android
Follow these steps to change the framing of your video.
Step 1: Open CapCut
Launch CapCut on your Android phone.
From the home screen, start a new project.
Step 2: Import Your Video
Select the video you want to resize from your phone's gallery.
Add it to the project.
The video will appear on the timeline.
Step 3: Select the Video
Tap the video clip on the timeline.
This gives you access to the editing controls.
If your project contains several clips, make sure you select the correct one before making clip-specific adjustments.
Step 4: Find the Ratio or Canvas Controls
Look through the current editing interface for controls related to Ratio, Crop, Canvas, or framing.
CapCut's interface can change between versions, so the exact location may not be identical on every Android device.
The goal is to change the project's frame or aspect ratio rather than simply making the video clip smaller inside the existing frame.
Step 5: Choose an Aspect Ratio
Choose the aspect ratio that matches your intended destination.
For example:
- 9:16 for many vertical short-form videos
- 16:9 for landscape YouTube videos
- 1:1 for square content
- 4:5 for certain feed formats
After choosing the ratio, check how your original video fits inside the new frame.
Step 6: Reposition the Video
Changing the aspect ratio can cause parts of your original video to move outside the visible frame.
Use the preview to reposition the video.
Move the subject so the important content remains visible.
Step 7: Scale the Video
You can also adjust the size of the video inside the new frame.
Pinch or use the available scaling controls to make the footage larger or smaller.
Be careful when enlarging the video too much.
Excessive scaling can crop important areas or make lower-resolution footage look softer.
Step 8: Check the Entire Video
Don't only check the first few seconds.
Watch the entire project.
Look for:
- Faces being cropped
- Text disappearing
- Important objects moving outside the frame
- Empty areas
- Unwanted black bars
- Incorrect positioning
- Subjects being too close to the edge
Step 9: Export the Resized Video
When everything looks correct, tap Export.
Choose an appropriate resolution and frame rate.
Then export the video.
How to Make a Horizontal Video Vertical in CapCut
One of the most common reasons for resizing a video is converting landscape footage into a vertical format.
For example, you may have recorded a 16:9 video but want to publish it as a vertical Short or Reel.
Basic Workflow
- Open CapCut.
- Create a new project.
- Import the horizontal video.
- Open the ratio or framing controls.
- Choose 9:16.
- Reposition the video.
- Scale the footage if necessary.
- Check the entire frame.
- Export the video.
CapCut also documents mobile workflows for converting horizontal footage into vertical video using its reframing tools.
How to Make a Vertical Video Horizontal in CapCut
You can also convert portrait footage into a landscape project.
For example, you may want to include a vertical phone recording inside a traditional 16:9 YouTube video.
Basic Workflow
- Import the vertical video.
- Create or select a landscape project.
- Choose a 16:9 frame.
- Position the vertical footage.
- Adjust its scale.
- Add a background if necessary.
- Preview the result.
- Export.
When a vertical video is placed inside a wide frame, empty space can appear on both sides.
Instead of aggressively zooming into the video, you can use a suitable background.
How to Resize a Video for Instagram Reels
If you're preparing a video for Instagram Reels, a vertical project is generally appropriate.
A common workflow is:
- Import the original footage.
- Choose a vertical 9:16 project.
- Reposition the video.
- Keep the subject near the center or appropriate safe area.
- Check text placement.
- Preview the entire video.
- Export.
Be especially careful with faces and text.
A landscape video placed into a vertical frame may require cropping.
Don't automatically zoom in until the video fills the entire screen.
First check whether important parts of the footage would be lost.
How to Resize a Video for YouTube Shorts
YouTube Shorts are designed around vertical viewing.
To prepare a video:
- Import the footage.
- Set the project to a vertical format.
- Reposition the main subject.
- Scale the video appropriately.
- Add background treatment if needed.
- Check captions and text.
- Preview the complete video.
- Export.
If the original footage is horizontal, you may need to crop or reframe it.
How to Resize a Video for TikTok
For TikTok-style vertical content, use a vertical project format when appropriate.
After changing the frame:
- Keep faces visible
- Keep important text away from edges
- Check subtitles
- Check product details
- Avoid unnecessary cropping
- Preview the entire video
If the source is horizontal, consider whether cropping or a background treatment produces the better result.
How to Resize a Video for YouTube
Traditional YouTube videos are commonly presented in a landscape 16:9 format.
If your original footage is already horizontal, you may not need to change the aspect ratio.
If you're starting with vertical footage, you have several choices.
You can:
- Keep the vertical footage centered
- Scale it to fit the frame
- Use a background
- Use a blurred version of the footage as a background
- Crop the video carefully
Choose the option that preserves the most important visual information.
How to Resize a Video Without Cropping It
Changing the aspect ratio doesn't always mean you have to crop the original video.
You can place the original footage inside the new frame and use a background around it.
For example, if you put a vertical video inside a 16:9 landscape project, you can use:
- A solid-color background
- A blurred copy of the video
- An image background
- Another video layer
- A designed background
This allows you to preserve more of the original footage.
The tradeoff is that the original video may not fill the entire frame.
How to Resize a Video Without Black Bars
Black bars usually appear when the video's dimensions don't match the project's aspect ratio.
There are several ways to handle this.
Option 1: Crop the Video
Zoom into the video until it fills the frame.
The disadvantage is that some content may be cropped.
Option 2: Use a Background
Keep the complete original video visible and fill the remaining space with a background.
Option 3: Use a Blurred Background
A blurred version of the same video can create a more polished appearance.
Option 4: Reposition the Subject
Sometimes moving the video within the frame can reduce unwanted empty space without excessive cropping.
Choose the method based on the content.
How to Resize a Video Without Losing Quality
Changing the aspect ratio and changing the resolution are different things.
If you only change the framing, the original visual quality can generally be preserved better than if you repeatedly compress and re-export the footage.
For better results:
- Start with the original video
- Avoid excessive scaling
- Avoid unnecessary exports
- Choose an appropriate output resolution
- Use suitable frame-rate settings
- Don't enlarge low-resolution footage more than necessary
If you're working with blurry or low-quality footage, see our guide on [how to improve video quality in CapCut on Android].
How to Resize a Video and Keep the Subject Centered
Automatic cropping can sometimes place the subject in an awkward position.
After changing the aspect ratio, check the subject's location.
If the person or object is too close to one edge, reposition the video.
For talking-head videos, keeping the face appropriately framed is particularly important.
For moving subjects, check several points in the timeline because the subject may move out of the ideal area.
How to Resize a Video With a Moving Subject
A moving subject can make resizing more difficult.
For example, someone might walk from the left side of the frame to the right.
If you simply crop a horizontal video into a vertical frame, the person could move outside the visible area.
CapCut provides reframing tools that can help keep the important subject within the new frame when supported.
You can also manually adjust the framing when necessary.
For complicated movement, preview the complete clip rather than checking only one frame.
How to Resize a Video for Different Platforms
You don't necessarily need to create completely different source videos for every platform.
You can keep the original high-quality footage and create different versions with different project ratios.
For example:
Original footage → 16:9 YouTube version
Original footage → 9:16 Shorts version
Original footage → 9:16 Reels version
Original footage → 9:16 TikTok version
This workflow makes it easier to adapt one recording to multiple destinations.
How to Change Video Size After Editing
If your video is already edited, you can still change its project framing.
However, check every clip after changing the aspect ratio.
Text, stickers, overlays, and other elements may need repositioning.
This is especially important if you created a detailed horizontal edit and then convert it to vertical.
Review:
- Text
- Captions
- Logos
- Overlays
- Stickers
- Subjects
- Backgrounds
- Transitions
before exporting.
Resize vs Crop in CapCut
These terms are related but different.
Resize
Resize can refer to changing the dimensions or aspect ratio of the video project.
Crop
Crop removes parts of the visible image.
For example, changing a landscape video to a vertical frame may require cropping if you want the video to completely fill the new frame.
You can also resize the project while preserving the entire source video by using a background.
Resize vs Resolution
Aspect ratio and resolution should not be confused.
Aspect Ratio
Describes the shape of the frame.
Examples:
16:9 9:16 1:1
Resolution
Describes the number of pixels.
Examples:
720p 1080p 2K 4K
You can change the aspect ratio without necessarily reducing the resolution.
Likewise, you can change output resolution without changing the basic aspect ratio.
How to Resize a Video and Maintain Good Quality
A good workflow is:
Start with the original
Use the highest-quality original recording available.
Choose the destination first
Decide whether you're making a Reel, Short, TikTok, YouTube video, or another format.
Select the correct ratio
Choose the project ratio that matches the destination.
Reframe carefully
Keep the important subject visible.
Avoid excessive zooming
Don't enlarge the footage unnecessarily.
Check text
Make sure captions and titles remain visible.
Export once
Avoid repeatedly exporting and re-importing the same file.
For additional quality tips, see [how to export 4K videos in CapCut on Android].
Common Problems When Resizing a Video
My video is cropped after changing the ratio
The new frame may be smaller or differently shaped than the original footage.
Reposition the video or reduce the scale.
If necessary, use a background instead of filling the entire frame with the original footage.
My video has black bars
The source and project aspect ratios don't match.
You can crop, scale, reposition, or add a background.
My face is cut off
Reposition the video or reduce the zoom.
Check multiple points in the timeline if the person is moving.
My text is outside the frame
Changing the project ratio can change the visible area.
Move the text into the new frame and preview it.
My horizontal video looks strange in vertical format
A landscape video contains more horizontal space than a vertical frame can display.
Try reframing the subject, using a background, or carefully cropping the footage.
My vertical video has empty space in landscape format
This is expected when a narrow portrait video is placed inside a wide landscape frame.
Use a background or carefully scale the footage if appropriate.
The Resize or Ratio option looks different
CapCut's interface changes over time.
Look for current controls related to Ratio, Crop, Canvas, Resize, or framing.
The video quality became worse after resizing
Check whether you enlarged low-resolution footage significantly or exported using lower-quality settings.
Start with the original video whenever possible.
Tips for Better Resized Videos
Choose the final platform before editing
Knowing the destination helps you choose the correct aspect ratio.
Keep important content near the center
This makes reframing easier.
Don't crop automatically
Always inspect the new frame.
Protect text and captions
Keep them inside the visible area.
Check moving subjects
A person may move out of frame after resizing.
Use backgrounds when necessary
A background can preserve more of the original footage.
Keep the original project
Save the original version before creating a different aspect ratio.
This makes it easier to create additional versions later.
Frequently Asked Questions
Can I resize a video in CapCut on Android?
Yes. CapCut's mobile editor provides tools for changing video framing and aspect ratio.
What is the best aspect ratio for CapCut?
There isn't one universal best ratio.
The correct ratio depends on where you plan to publish the video.
What aspect ratio should I use for YouTube?
A 16:9 landscape format is commonly used for standard YouTube videos.
What aspect ratio should I use for YouTube Shorts?
A vertical 9:16 format is commonly used for Shorts.
What aspect ratio should I use for TikTok?
A vertical 9:16 format is commonly used for TikTok videos.
What aspect ratio should I use for Instagram Reels?
A vertical 9:16 format is commonly used for Reels.
Can I turn a horizontal video into a vertical video in CapCut?
Yes. You can change the project to a vertical format and then reposition or reframe the original footage.
Can I turn a vertical video into a horizontal video?
Yes. You can use a landscape project and position the vertical footage inside the wider frame.
Can I resize a video without cropping it?
Yes. You can preserve more of the original footage by using a suitable background instead of zooming until the video fills the entire frame.
Does resizing reduce video quality?
Changing the aspect ratio itself does not necessarily mean major quality loss. However, aggressive scaling, cropping, or low-quality export settings can affect the final result.
Is resizing the same as compressing a video?
No.
Resizing can refer to changing dimensions or aspect ratio, while compression primarily refers to reducing file size through encoding and quality changes.
Can I resize a video after adding text?
Yes, but you should check the text and other overlays after changing the project ratio because they may need repositioning.
Final Thoughts
Resizing a video in CapCut on Android is useful when your original footage doesn't match the format required by your destination.
The basic workflow is:
- Open CapCut.
- Create a new project.
- Import your video.
- Open the ratio or framing controls.
- Choose the required aspect ratio.
- Reposition the video.
- Adjust the scale.
- Check faces, text, and important objects.
- Preview the complete project.
- Export using appropriate settings.
Remember that resizing, cropping, resolution changes, and compression are different operations.
If you're converting a horizontal video into a vertical Reel, Short, or TikTok video, don't simply zoom in until everything fills the screen. Check what gets cropped and consider using a background when preserving the complete original frame is more important.
Starting with the original high-quality footage and choosing the final aspect ratio early can make the entire editing process much easier.
Related Articles
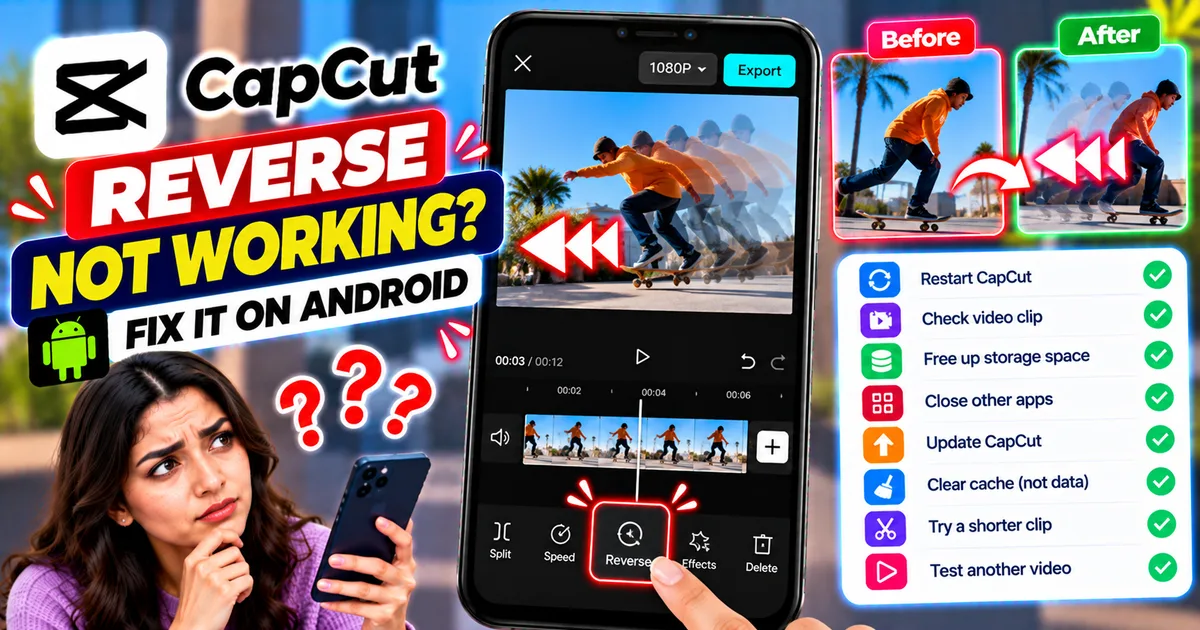
How to Fix CapCut Reverse Not Working on Android
Fix CapCut reverse not working on Android with practical steps for stuck processing, failed reverse effects, unsupported clips, low storage, and app issues.
GetApkFree Team
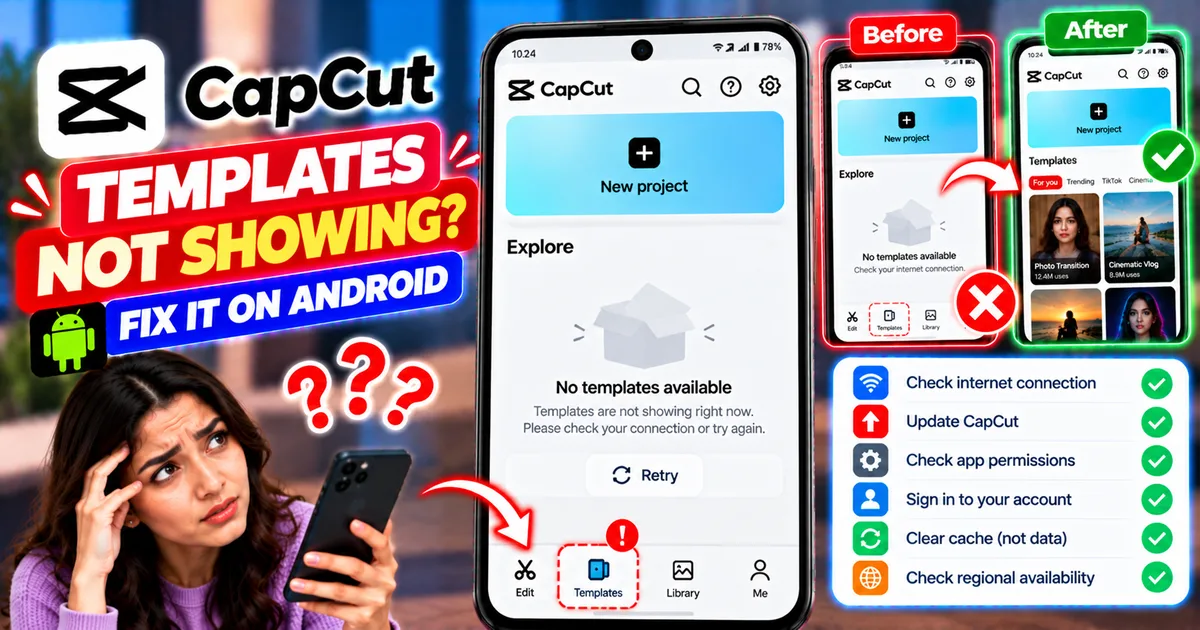
How to Fix CapCut Templates Not Showing on Android
CapCut templates not showing on Android? Find the missing Templates tab, fix an empty template library, check regional availability, and troubleshoot loading issues.
GetApkFree Team
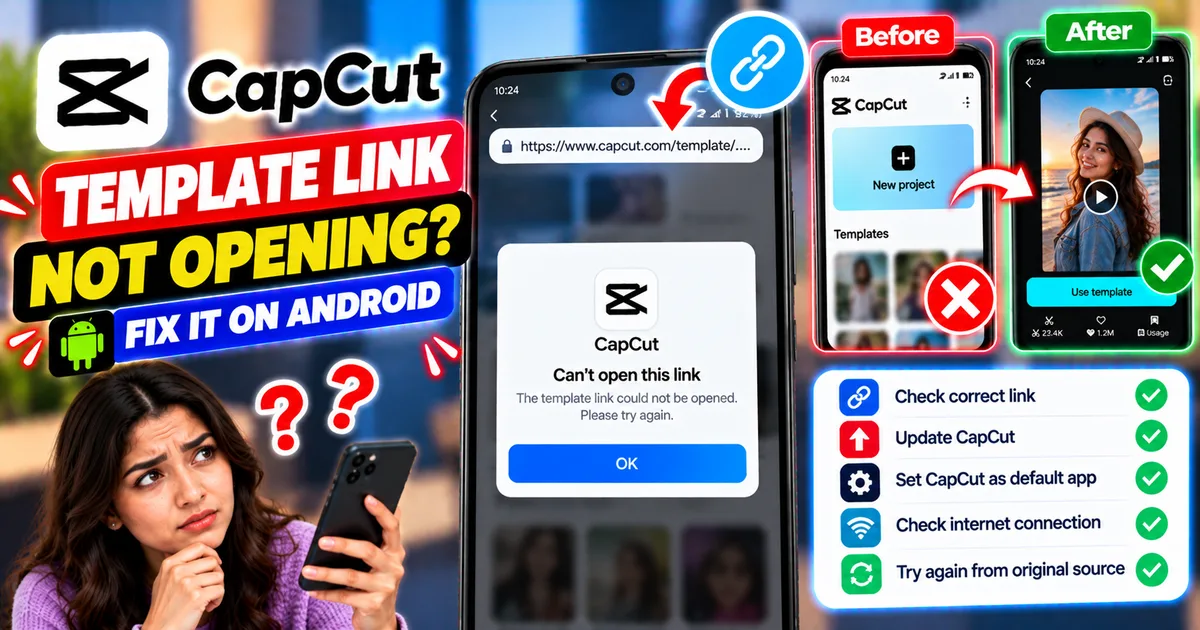
How to Fix CapCut Template Link Not Opening on Android
CapCut template links not opening on Android? Fix links that open the wrong template, redirect to the home screen, or fail to launch CapCut.
GetApkFree Team
How to Fix CapCut Drafts Disappeared on Android
CapCut drafts disappeared on Android? Check your project list, account, local storage, and recovery options without risking unfinished video edits.
GetApkFree Team