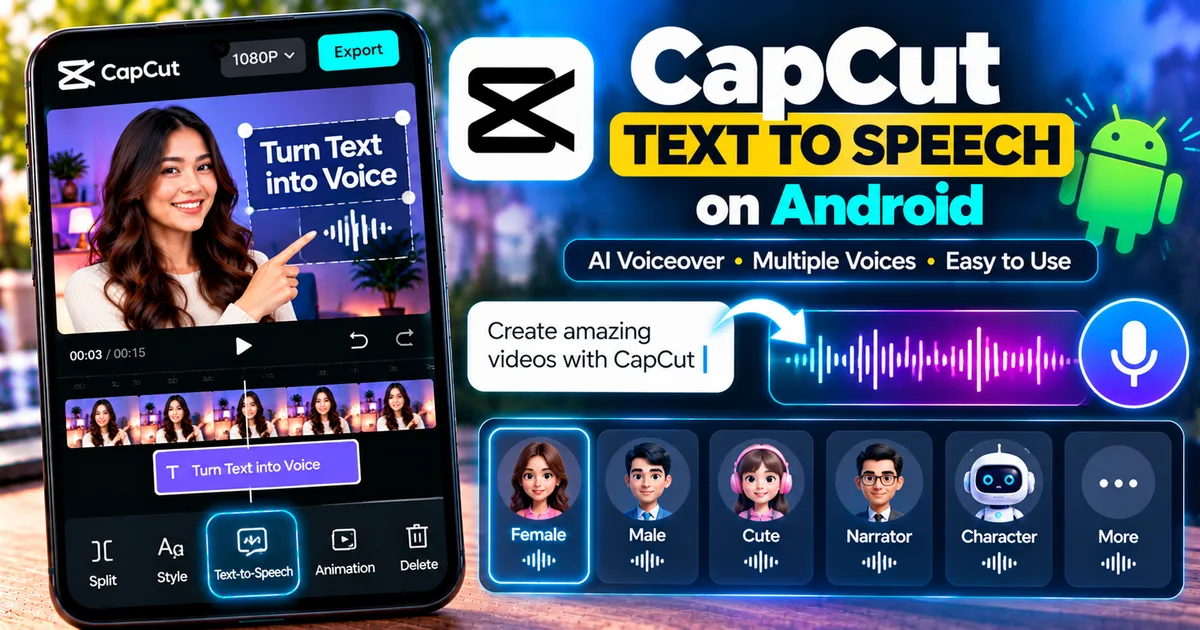

This article is about
CapCut - Download
ByteDance Pte. Ltd. · Education
How to Use Text-to-Speech in CapCut on Android
GetApkFree Team
Learn how to use CapCut text-to-speech on Android to turn text into voiceovers, choose voices, adjust timing, and fix common TTS problems.
- Version
- Latest
- Source
- Google Play
- Package
- external.capcut.en.softonic.com.capcut-download
How to Use Text-to-Speech in CapCut on Android
Want to add a voiceover to a video without recording your own voice? CapCut's text-to-speech feature can turn written text into spoken audio directly inside the Android video editor.
You can type a script, select a voice, generate the speech, and then adjust the resulting audio on your timeline.
This can be useful for tutorials, short-form videos, explainers, product videos, storytelling, and other content where you want narration without recording a microphone.
In this guide, you'll learn how to use CapCut text-to-speech on Android, choose a voice, adjust the generated audio, and troubleshoot common problems.
Quick Answer
To use text-to-speech in CapCut on Android, create a project and add your video. Tap Text, choose Add text, and enter the words you want spoken.
Select the text layer on the timeline, choose Text-to-Speech, select an available voice, and generate the voiceover.
The generated speech appears as an audio element that you can preview and position alongside your video.
The exact interface and available voices can vary between CapCut versions, devices, languages, and regions.
What Is CapCut Text-to-Speech?
Text-to-speech, often called TTS, converts written text into spoken audio.
Instead of recording yourself reading a script, you enter the words into CapCut and select an available voice.
The generated voice can then be used as narration in your video.
For example, you could write:
"Here are three simple ways to improve your Android videos."
CapCut can turn that written sentence into spoken audio that you can place alongside your footage.
How to Use Text-to-Speech in CapCut on Android
Step 1: Open CapCut
Launch CapCut on your Android phone.
Start a new project and select the video or other media you want to use.
Add the selected media to the timeline.
Step 2: Add Text
From the editing toolbar, tap Text.
Choose Add text.
Enter the script or sentence that you want CapCut to read aloud.
Keep the text easy to understand and divide long narration into sensible sections.
Step 3: Select the Text Layer
After entering your text, confirm it and return to the timeline.
Tap the text layer you just created.
The editing controls for that text should appear.
Step 4: Choose Text-to-Speech
Look through the available text editing options and select Text-to-Speech.
CapCut may place this option in a different position depending on the current version of the app.
If you don't immediately see it, scroll through the available tools while the text layer is selected.
Step 5: Choose a Voice
CapCut provides voice options that can be used for generated narration.
The available voices can vary depending on the current app version, language, region, and account.
Preview the available options and select a voice that fits the style of your video.
For example, a tutorial may work better with a clear narration style, while entertainment content may suit a more expressive voice.
Step 6: Generate the Voice
After selecting a voice, use the option to generate the speech.
CapCut processes the text and creates a spoken audio track.
Depending on the length of your text and the current feature implementation, generation may take some time.
Step 7: Preview the Voiceover
Play your video from the beginning.
Listen to the generated narration and check whether:
- The pronunciation sounds correct
- The voice matches your video
- The narration starts at the right time
- The text is spoken completely
- The audio volume is appropriate
- The narration matches the visuals
If something sounds wrong, edit the text and generate the speech again when necessary.
How to Make Better CapCut AI Voiceovers
Good text-to-speech results depend partly on the script you provide.
Instead of putting an entire article into one giant text layer, divide the narration into logical sections.
For example:
Section 1: Introduction
"Today, we'll show you how to edit a video on Android."
Section 2: Main step
"First, open CapCut and create a new project."
Section 3: Conclusion
"Once you're finished, preview the video and export it."
This makes it easier to synchronize the narration with the footage.
How to Adjust Text-to-Speech Timing
After CapCut generates the voice, the audio appears on the timeline.
You can move the audio so that it begins at the appropriate point in your video.
If the narration doesn't match the visuals, adjust the position of the audio and the duration of the related video or text elements.
For longer videos, creating multiple smaller text-to-speech sections can make synchronization easier.
How to Add Text-to-Speech to Only Part of a Video
You don't have to create narration for the entire video.
You can create a text layer for a specific section and convert only that text into speech.
For example:
- 0:00–0:05 — Intro
- 0:05–0:15 — Main explanation
- 0:15–0:20 — Demonstration
- 0:20–0:25 — Conclusion
This approach gives you more control over the timing of the voiceover.
How to Change the Text-to-Speech Voice
If your version of CapCut provides multiple voices, you can select a different voice during the text-to-speech process.
A useful approach is to preview several available voices before choosing one.
Consider:
- Voice tone
- Speaking style
- Language
- Pronunciation
- Speed
- Suitability for your audience
Don't choose a voice only because it sounds interesting. Make sure it remains easy to understand throughout the video.
How to Make CapCut Text-to-Speech Sound More Natural
AI-generated narration can sound more natural when the script is written for speech rather than for reading.
Use Short Sentences
Instead of:
"Today we are going to explain several different features that you can use to improve your videos and make your editing process faster and easier."
Try:
"Today, we'll look at several CapCut features.
These tools can make video editing faster and easier."
Shorter sentences are generally easier to follow.
Use Punctuation
Punctuation can help create natural pauses.
Use commas and periods where you would naturally pause while speaking.
Avoid Complicated Sentences
Write your script as if you were speaking directly to another person.
This can make generated narration easier to understand.
Check Names and Technical Terms
Some words may be pronounced differently than you expect.
Always listen to the generated voice before exporting the final video.
How to Add Music Behind a CapCut AI Voice
You can combine generated narration with background music.
However, background music should not overpower the voice.
A simple workflow is:
- Generate the text-to-speech narration.
- Add your background music.
- Preview both tracks together.
- Reduce the music volume if necessary.
- Make sure the narration remains easy to hear.
- Export the finished video.
The exact audio controls available can vary by CapCut version.
Can You Use CapCut Text-to-Speech for YouTube Videos?
Yes, you can use generated narration as part of a video project.
It can be useful for:
- Tutorials
- Explainer videos
- Product demonstrations
- Educational videos
- Short-form videos
- Storytelling
- App tutorials
- Social media content
Before publishing, review the generated narration and make sure the script, visuals, music, and other content comply with the rules of the platform where you plan to publish the video.
CapCut Text-to-Speech vs Recording Your Own Voice
Both approaches have advantages.
Text-to-Speech
Text-to-speech can be useful when:
- You don't want to record your voice
- You need quick narration
- You are producing several short videos
- You want consistent voice output
- You are creating screen tutorials
Your Own Voice
Recording your own voice may be preferable when:
- Your personality is important to the content
- You want a personal connection with viewers
- You need a very specific tone
- The video depends heavily on natural emotion
You can also combine both approaches in different videos.
Why Is CapCut Text-to-Speech Not Working?
Several issues can prevent text-to-speech from working correctly.
The Text-to-Speech Option Is Missing
Make sure you have selected the text layer.
The option may not appear when another element is selected.
Also check whether your CapCut version is up to date.
Feature availability can change between versions and regions.
The Voice Doesn't Generate
Check your internet connection and try again.
Some CapCut features may require network access to process or generate content.
If the problem continues, restart CapCut and try generating the voice again.
The Generated Voice Is Muted
Check the audio track's volume and make sure the track isn't muted.
Also make sure the generated audio is positioned within the part of the timeline you are currently previewing.
The Voice Doesn't Match the Video
Move the generated audio on the timeline so that it lines up with the appropriate footage.
For longer narration, consider splitting your script into multiple sections.
Text-to-Speech Stops Working
CapCut's official troubleshooting guidance notes that outdated versions, temporary bugs, unsupported voice options, network problems, and audio settings can contribute to text-to-speech problems.
Updating CapCut and checking your connection can be useful first troubleshooting steps.
How to Fix CapCut Text-to-Speech Not Working
Try these steps in order:
- Check that the text layer is selected.
- Check that Text-to-Speech is available.
- Try a different voice.
- Check your internet connection.
- Restart CapCut.
- Update the app if an update is available.
- Try generating a shorter sentence.
- Check whether the generated audio is muted.
- Check whether the audio is positioned correctly on the timeline.
- Try again later if the feature is temporarily unavailable.
If the problem continues, check CapCut's current help documentation because feature availability and troubleshooting steps can change.
Tips for Creating Better AI Voiceover Videos
Write the Script Before Editing
Prepare your narration before generating the voice.
This makes it easier to match your visuals to your spoken content.
Keep Narration Focused
Avoid unnecessary words.
A shorter, clearer script is usually easier for viewers to follow.
Match the Voice to the Content
Choose a voice that fits the subject and audience.
Preview Everything
Don't export immediately after generating the voice.
Watch the entire video and listen carefully to the narration.
Keep the Voice Clear
Make sure background music and sound effects don't overpower your narration.
Frequently Asked Questions
Does CapCut have text-to-speech on Android?
Yes. CapCut's current mobile documentation describes a text-to-speech feature that lets users convert written text into generated speech.
How do I use CapCut text-to-speech?
Add text to your project, select the text layer, choose Text-to-Speech, select an available voice, and generate the audio.
Can I choose different AI voices in CapCut?
CapCut provides multiple voice options, although the exact selection can vary depending on the version, language, region, and availability.
Can I change the speed of CapCut text-to-speech?
Some current CapCut text-to-speech workflows provide voice customization options such as speed. Available controls can vary by version and voice.
Why can't I find Text-to-Speech in CapCut?
Make sure a text layer is selected and check the available editing tools. If the feature is still missing, your version, region, account, or selected voice may affect availability.
Does CapCut text-to-speech require an internet connection?
Some AI-powered CapCut features can depend on network connectivity. If text-to-speech fails to generate, check your internet connection and try again.
Can I use CapCut text-to-speech for narration?
Yes. Generated speech can be used as narration in video projects, including tutorials, explainers, demonstrations, and other types of content.
Final Thoughts
CapCut's text-to-speech feature provides a convenient way to create voiceovers directly from an Android phone.
The basic process is simple: add text, select the text layer, choose Text-to-Speech, select a voice, and generate the narration.
For better results, write your script in a conversational style, divide longer narration into smaller sections, synchronize the generated audio with your footage, and always preview the final video before exporting.
Because CapCut's interface, voices, and feature availability can change, the exact buttons and options may look slightly different in your version of the app.
Related Articles

How to Fix CapCut Video Lagging After Export on Android
Fix CapCut video lagging after export on Android. Learn how to troubleshoot choppy playback, frame-rate mismatches, heavy effects, storage issues, and export settings.
GetApkFree Team

How to Fix CapCut Preview Not Matching Export on Android
Fix CapCut preview not matching the exported video on Android. Troubleshoot missing effects, text, transitions, timing, colors, and rendering differences.
GetApkFree Team

How to Fix Couldn't Apply AI Background in CapCut on Android
Getting "Couldn't Apply AI Background" in CapCut on Android? Check usage limits, clip selection, video quality, app updates, and practical troubleshooting steps.
GetApkFree Team

How to Fix CapCut Effects Not Applying on Android
CapCut effects not working on Android? Check clip selection, effect layers, timeline timing, conflicting adjustments, and app performance with these practical fixes.
GetApkFree Team