

This article is about
CapCut Premium
capcutdownload.com.pk · Tools
How to Fix Couldn't Apply AI Background in CapCut on Android
GetApkFree Team
Getting "Couldn't Apply AI Background" in CapCut on Android? Check usage limits, clip selection, video quality, app updates, and practical troubleshooting steps.
- Source
- Developer
- Package
- CapCut Premium
How to Fix “Couldn't Apply AI Background” in CapCut on Android
Are you trying to remove a video's background in CapCut, but the app displays the message “Couldn't Apply AI Background”? This error can interrupt your editing workflow, especially when you're creating YouTube Shorts, Instagram Reels, tutorials, reaction videos, or gameplay content.
CapCut's AI background-removal feature attempts to separate the main subject from the original background. When processing fails, you may be unable to remove the background, replace it with another scene, or continue editing the clip as planned.
The error does not necessarily mean that your video is damaged or your phone is incompatible. The problem may involve the selected clip, the quality of the source footage, a temporary app issue, or a usage limit for the AI feature.
This guide explains how to troubleshoot the “Couldn't Apply AI Background” error on CapCut for Android, identify likely causes, check whether you have reached a usage limit, and try alternative background-removal methods.
Quick Answer: How to Fix the CapCut AI Background Error
If CapCut displays “Couldn't Apply AI Background” on Android, try these steps:
- Select the correct video clip on the timeline.
- Make sure the footage contains a clearly visible subject.
- Try a short, well-lit video with good contrast between the subject and background.
- Check whether you have reached the feature's usage limit.
- Close and reopen CapCut.
- Restart your phone if the problem continues.
- Check for an available CapCut update.
- Test AI background removal in a new project.
- Try Custom Removal or Chroma Key if those options suit your footage and are available.
- If the error persists, consult CapCut's official support.
Start with the selected clip and source footage before making changes to the app or deleting any project data.
What Does “Couldn't Apply AI Background” Mean in CapCut?
This message indicates that CapCut was unable to apply the AI background-removal operation to the selected video or image in that attempt.
AI background removal tries to identify the foreground subject and separate it from the surrounding scene. The subject might be a person, product, or another clearly distinguishable object.
The process can be challenging when the footage has poor lighting, low contrast, motion blur, or a complicated background. The feature can also be affected by usage restrictions or temporary app problems.
The error message alone does not identify the exact cause. You need to test a few possibilities to determine which one applies to your situation.
Why Is CapCut AI Background Removal Not Working?
1. You May Have Reached the Usage Limit
CapCut's official help page states that its AI Background function on mobile has a daily usage limit. The published guidance currently describes a limit of up to 50 uses per day, with the counter resetting after 24 hours.
Availability and limits can change, so check the current message shown in your own CapCut app.
If you have used the feature repeatedly, you may have reached the limit even if your phone and video are working correctly.
What to do: Stop repeatedly retrying the same operation. Check whether CapCut displays a usage-limit message and try again after the applicable reset period.
2. The Wrong Clip Is Selected
CapCut's AI background tool needs a selected media element to process.
If you have selected the background video, an unrelated overlay, or a different timeline item, the operation may not produce the result you expect.
What to do: Return to the timeline and select the exact video or image whose background you want to remove.
3. The Subject Is Difficult to Detect
AI background removal works by distinguishing the foreground subject from the background.
This can become difficult when the subject blends into the surroundings.
Examples include:
- Dark clothing against a dark background
- Hair blending into a similarly colored wall
- A person standing in front of a busy scene
- Low-light footage
- Fast-moving subjects
- Motion blur around the subject
- Low-resolution or heavily compressed video
What to do: Test a clip with clearer subject-background separation before concluding that the app itself is broken.
4. The Source Video Is Low Quality
Blurry or heavily compressed footage contains less detail for the AI to analyze.
If the subject's edges are unclear, background removal may fail or produce a poor cutout.
What to do: Whenever possible, use the original recording or a higher-quality copy. Avoid repeatedly compressing the same video before importing it into CapCut.
5. CapCut Is Experiencing a Temporary Problem
An app glitch may interfere with processing or prevent a feature from completing its operation.
What to do: Close CapCut completely, reopen it, and test the feature again.
6. Your App Version Is Outdated
An older version may have bugs or a different interface from the current version.
What to do: Check whether an update is available through an official app source. Updating may help with software problems, although it cannot guarantee that every AI background error will disappear.
7. The Feature Is Temporarily Unavailable
Some AI tools may depend on online services or feature availability that differs between accounts, regions, and app versions.
If ordinary editing works but the AI tool repeatedly fails, the problem may be specific to that feature rather than your entire project.
What to do: Check your connection if the tool requires online processing, review any message displayed in the app, and consult CapCut support if the problem persists.
Step 1: Select the Correct Clip
Before changing any settings, make sure you have selected the media you want to process.
How to check
- Open CapCut on your Android phone.
- Open the affected project.
- Find the video or image whose background you want to remove.
- Tap that clip on the timeline.
- Confirm that the editing controls relate to the selected clip.
- Open the background-removal tools and try again.
Depending on your CapCut version, the controls may appear under Edit, Remove BG, or a similar option.
Do not assume that selecting the main background video is correct if your intended subject is on an overlay track.
For example, if you placed a talking-head video over gameplay footage, you generally need to select the talking-head overlay before attempting to remove its background.
Step 2: Test With a Clear, Short Video
A simple test can help determine whether the problem is related to your original footage.
Choose a short clip in which the subject is easy to distinguish from the background.
For the best test, look for footage with:
- Good lighting
- A clearly visible subject
- Reasonable contrast between the subject and background
- Minimal motion blur
- Sufficient image detail
- No unnecessary visual obstructions
Then follow these steps:
- Create a new project or use a separate test project.
- Import the short video.
- Select the video clip.
- Open the background-removal controls.
- Choose AI or automatic background removal if available.
- Wait for the operation to finish.
If the test clip works but the original clip does not, investigate the original footage before changing the app installation.
If both clips fail, continue with the remaining checks.
Step 3: Check Whether You Have Reached the AI Usage Limit
If you have used AI background removal many times, a usage restriction is worth checking.
CapCut's official guidance currently describes a mobile limit of up to 50 uses per day for the AI Background function. This limit and its implementation may change.
What you should do
- Check whether CapCut displays a usage-limit message.
- Review any reset time or instructions shown in the app.
- Avoid repeatedly submitting the same clip if the feature has reached its limit.
- Wait for the indicated reset period.
- Try the operation again.
Do not assume that clearing the cache, restarting your phone, or reinstalling CapCut will reset an account- or service-side usage limit.
If the app does not show a limit message, continue troubleshooting rather than assuming that you have exhausted your allowance.
Step 4: Restart CapCut
A restart is a reasonable next step if the feature has stopped responding.
- Save your project if possible.
- Close CapCut completely.
- Reopen the app.
- Open the affected project.
- Select the intended clip.
- Try AI background removal again.
If the feature works after restarting, the problem may have been temporary.
If it fails again, continue with the following steps.
Step 5: Check Your Internet Connection
Some CapCut AI tools rely on online processing or connected services. The precise requirements can vary by feature and app version.
If your connection is unstable, an operation may fail to complete.
Try these checks
- Open another app and confirm that your internet connection works.
- Switch between Wi-Fi and mobile data if available.
- Check whether CapCut has permission to use mobile data.
- Temporarily disable a VPN or network filter if you suspect it is interfering.
- Reopen CapCut.
- Retry the AI background operation.
A working internet connection does not guarantee that the AI service is available, but checking connectivity can rule out one possible cause.
For related troubleshooting, see our guide on how to fix CapCut's no internet connection error on Android.
Step 6: Update CapCut
If the AI background feature continues to fail, check whether a newer version of CapCut is available.
How to check for an update
- Open the official app store or CapCut's official download source.
- Find CapCut.
- Check whether an update is available.
- Review the update information if provided.
- Install the update if appropriate.
- Reopen your project and test the feature.
The location of the background-removal controls may change between versions. If the interface looks different, check the current Edit or Remove BG tools.
Before updating, protect important projects and make sure you understand how your drafts are stored.
Step 7: Try Custom Removal Instead
If AI background removal fails, Custom Removal may be a suitable alternative when available in your version.
Instead of relying entirely on automatic subject detection, a manual refinement tool can give you more control over which areas remain or are removed.
The exact controls vary by version and editing context.
When Custom Removal may help
Consider it when:
- The subject is reasonably clear but automatic detection misses some areas.
- You need to refine the edge around a person or object.
- The background is visually complicated.
- Only a small portion of the subject needs correction.
Custom Removal may require more manual work and may not be available in every version or workflow.
If you cannot find it, check the current background-removal options rather than assuming the feature is broken.
Step 8: Use Chroma Key for Green-Screen Footage
If you recorded your subject against a solid green or blue background, Chroma Key may be a better choice than AI background removal.
Chroma Key removes a selected color rather than trying to identify the subject automatically.
How to use Chroma Key on Android
- Open your project in CapCut.
- Add the replacement background as the main video or image.
- Add the green-screen footage as an overlay.
- Select the green-screen overlay.
- Open the background-removal tools.
- Choose Chroma Key, if available.
- Use the color picker to select the background color.
- Adjust the available intensity and shadow controls gradually.
- Preview the result.
- Export after checking the entire clip.
The menu labels and available controls may vary between CapCut versions.
Why Chroma Key can be a useful alternative
AI background removal attempts to identify the subject in ordinary footage. Chroma Key works with a selected background color.
If your recording already has an evenly lit green screen, removing that color may be more appropriate than trying to use AI subject detection.
For more detailed instructions, see our guide on how to use green screen in CapCut on Android.
Step 9: Check Your Phone's Resources
If CapCut is also lagging, freezing, or struggling with other editing tasks, check your device.
Try these steps:
- Close unnecessary background apps.
- Restart your phone.
- Make sure you have enough free storage.
- Reopen CapCut and test a short clip.
- Avoid running several demanding apps during the test.
These steps can help when device performance contributes to the problem, but they will not resolve an exhausted usage limit or an unavailable AI service.
Should you clear CapCut's cache?
If the app is behaving abnormally, clearing its temporary cache may be worth trying.
On many Android devices, you can find this option under:
Settings → Apps → CapCut → Storage → Clear Cache
The exact path varies by phone.
Start with Clear Cache rather than Clear Data. Clearing app data or uninstalling CapCut can affect local drafts and application information.
Protect important projects before taking any action that could remove them.
Step 10: Test AI Background Removal in a New Project
If you have tried the previous steps and the error continues, create a simple test project.
Use a short clip and avoid adding extra overlays, filters, effects, or complicated timeline elements.
Then attempt AI background removal again.
Interpret the result as follows:
- The new project works: The original project's clip, layers, or media may be contributing to the problem.
- The new project fails too: Investigate usage limits, feature availability, connectivity, and app behavior.
- Only one particular video fails: The original footage may be difficult for the AI to process.
- Several AI tools fail: The problem may extend beyond background removal.
This test helps you narrow down the cause without rebuilding your original project.
What If Nothing Fixes the AI Background Error?
If AI background removal still fails after these checks, consult CapCut's official support guidance.
Before contacting support, note:
- Your phone model
- Your Android version
- Your CapCut version
- Whether the error affects one clip or every clip
- Whether other CapCut editing tools work
- Whether you see a usage-limit message
- The exact error text displayed
- The steps that reproduce the problem
This information can help support distinguish a feature-availability issue from a problem with your device, app, or footage.
Avoid repeatedly reinstalling CapCut or clearing app data in an attempt to force the AI tool to work. Those actions may put unfinished local projects at risk and may not address a service-side limitation.
Common Problems and Solutions
| Problem | What to try |
|---|---|
| “Couldn't Apply AI Background” appears immediately | Check the selected clip and test a short video |
| AI background removal worked earlier but now fails | Check for a usage-limit message |
| Only one video fails | Test clearer, higher-quality source footage |
| Every video fails | Check limits, app version, connectivity, and feature availability |
| The subject disappears incorrectly | Try better lighting, stronger contrast, or manual refinement |
| The background is not removed cleanly | Try Custom Removal or Chroma Key where appropriate |
| CapCut freezes during processing | Restart the app and test a short clip |
| The feature is missing from the menu | Check the current interface and available version |
| The error persists after an update | Test a new project and consult official support |
Frequently Asked Questions
Why does CapCut say “Couldn't Apply AI Background”?
The operation may have failed because of the selected clip, difficult source footage, a usage limit, temporary app issues, or feature availability. The message alone does not identify the exact cause.
Is AI background removal free in CapCut?
Availability and restrictions can change depending on the feature, account, region, and version. Check the current interface and any subscription or usage messages shown in your app.
Does CapCut have a daily AI background-removal limit?
CapCut's official help currently describes a mobile usage limit of up to 50 uses per day for its AI Background function, with a reset after 24 hours. Check the current in-app message because limits and availability may change.
Will restarting my phone fix the AI background error?
It may help if a temporary app or device problem is responsible. It will not necessarily fix a usage limit, difficult source footage, or an unavailable service.
Why does AI background removal work on one video but not another?
Different videos provide different levels of detail and contrast. Poor lighting, motion blur, low resolution, and a complicated background can make it harder to separate the subject.
Can I remove a video background without AI in CapCut?
Yes, depending on your footage and the tools available in your version. Chroma Key is useful for solid-color backgrounds, while Custom Removal may provide additional manual control.
Is Chroma Key better than AI background removal?
Neither method is always better. Chroma Key is often suitable for evenly lit green-screen footage. AI background removal is useful when you want to isolate a subject from an ordinary background.
Should I reinstall CapCut to fix this error?
Reinstallation should not be the first step. Check the selected clip, source footage, usage limits, app version, and connection first. Protect important drafts before considering any action that could remove local data.
Where can I find CapCut's official instructions?
Read CapCut's official guide: Why Is It Showing “Couldn't Apply AI Background”?.
Final Thoughts
The “Couldn't Apply AI Background” error in CapCut on Android can have several causes, so the best solution depends on what is happening in your project.
Start by selecting the correct clip and testing a short, clear video. Check whether you have reached a usage limit, restart the app, and make sure your version is up to date.
If AI background removal continues to fail, try Custom Removal or Chroma Key when those tools suit your footage. If the problem persists across multiple projects, consult CapCut's official support rather than repeatedly deleting or reinstalling the app.
By testing one possibility at a time, you can narrow down the cause and protect your existing editing projects while troubleshooting.
Related Articles

How to Fix CapCut Effects Not Applying on Android
CapCut effects not working on Android? Check clip selection, effect layers, timeline timing, conflicting adjustments, and app performance with these practical fixes.
GetApkFree Team
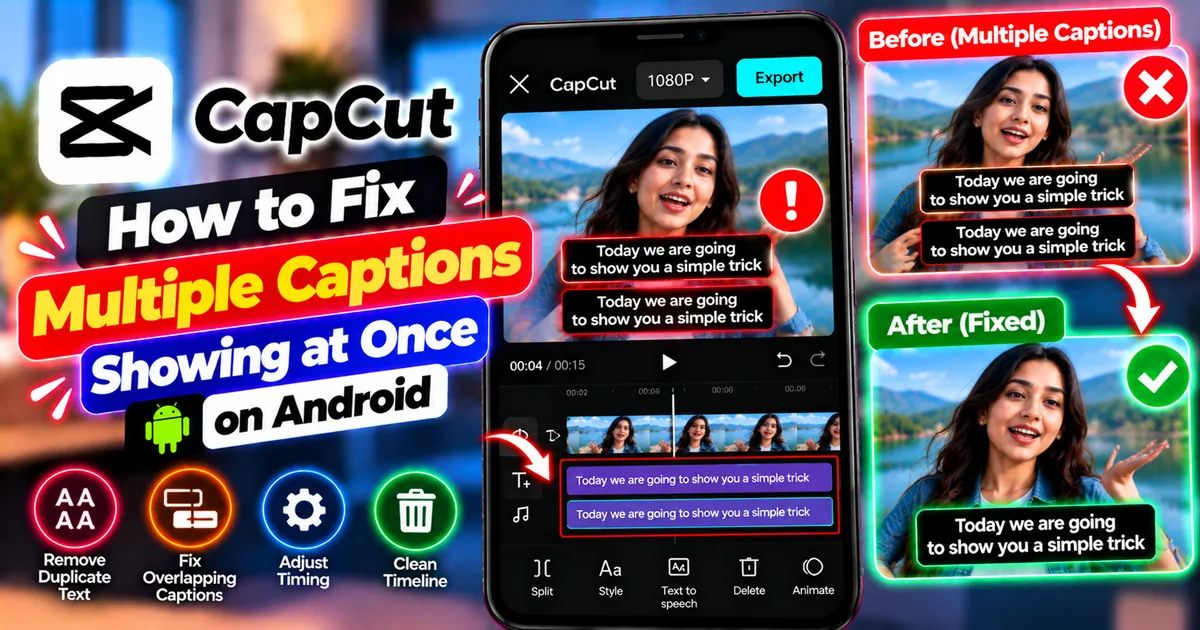
How to Fix Multiple Captions Showing at Once in CapCut on Android
Seeing duplicate or overlapping captions in CapCut on Android? Find extra text layers, fix overlapping subtitle clips, and export clean captions step by step.
GetApkFree Team
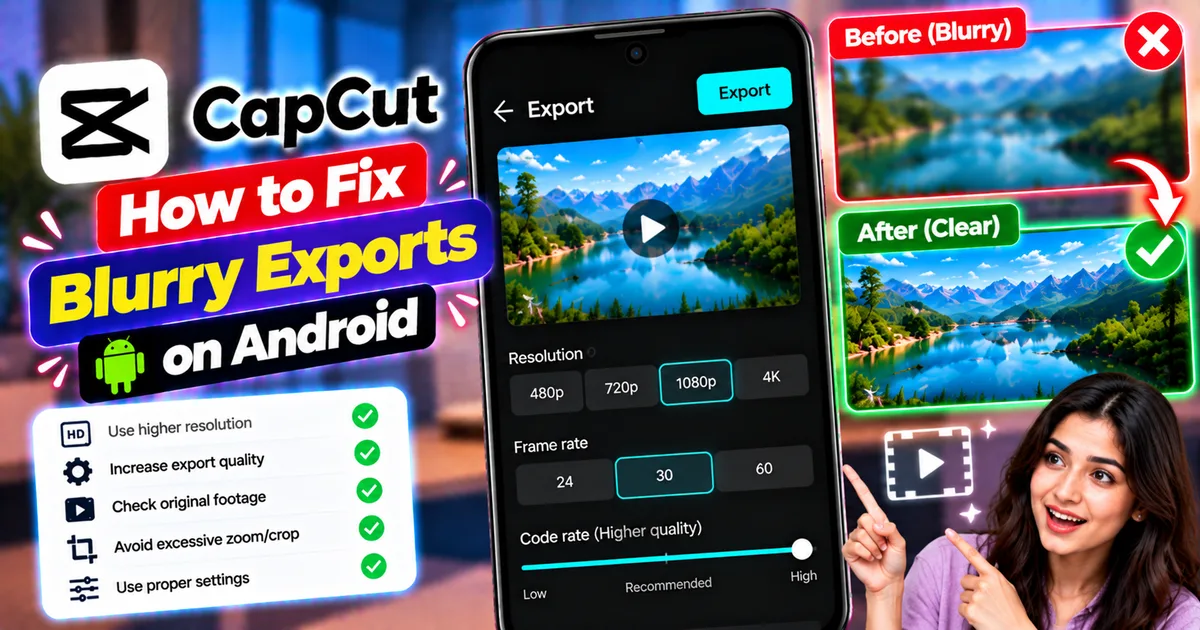
How to Fix Blurry CapCut Exports on Android
Is your CapCut export blurry on Android? Learn how to check resolution, bitrate, source footage, cropping, and export settings for clearer videos.
GetApkFree Team
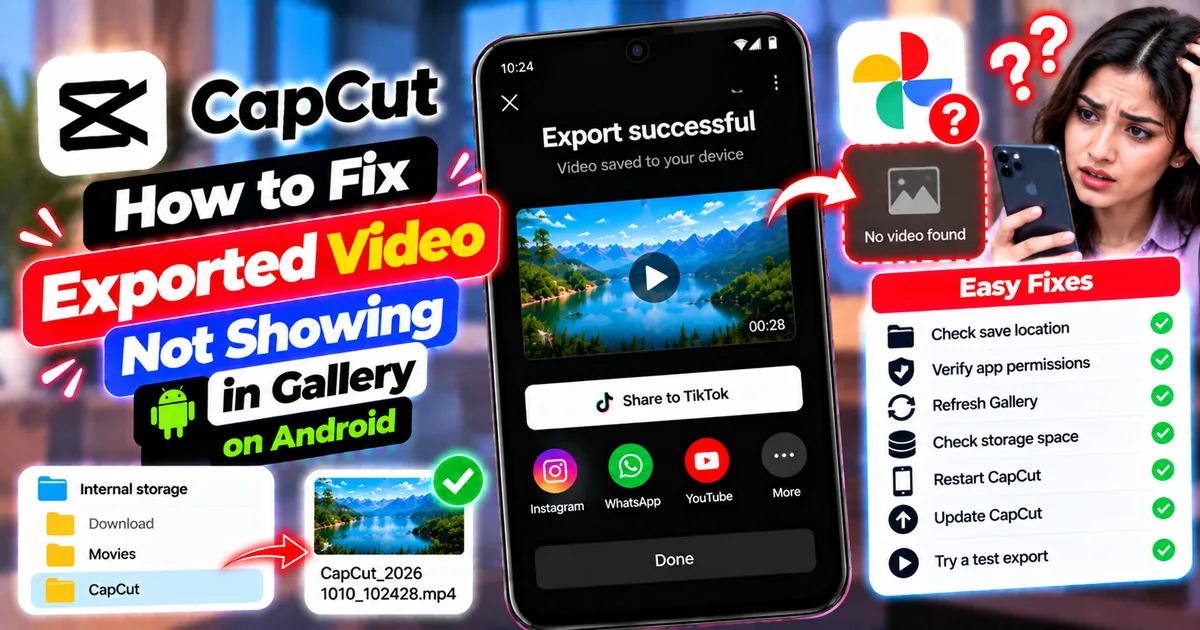
How to Fix CapCut Exported Video Not Showing in Gallery
CapCut exported video not showing in your Android Gallery? Find saved videos, check permissions, refresh media, and fix missing exports step by step.
GetApkFree Team