
This article is about
CapCut Premium
capcutdownload.com.pk · Tools
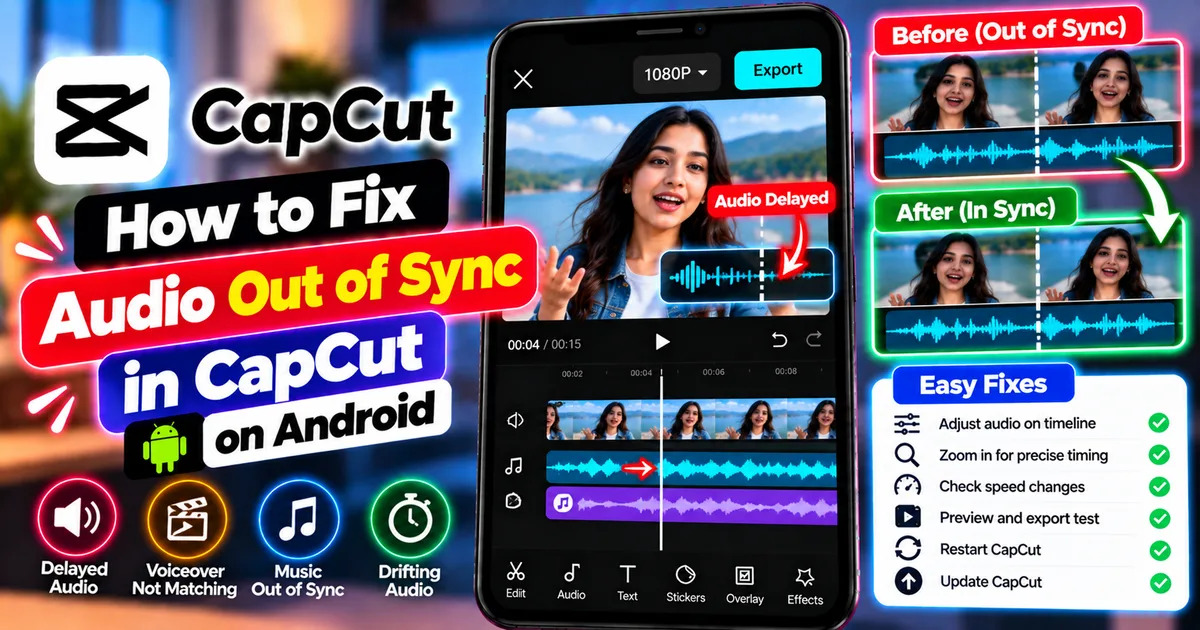
How to Fix Audio Out of Sync in CapCut on Android
GetApkFree Team
Is CapCut audio out of sync on Android? Fix delayed sound, drifting audio, voiceover timing, and exported videos with these practical troubleshooting steps.
- Source
- Developer
- Package
- CapCut Premium
How to Fix Audio Out of Sync in CapCut on Android
Is the sound in your CapCut video playing too early or too late? Perhaps someone's lips move before their voice begins, your voiceover no longer matches the footage, or background music gradually becomes misaligned with the video.
Audio synchronization problems can make an otherwise excellent edit feel unfinished. Fortunately, you can often correct them by adjusting the audio track, checking the original recording, or identifying a problem with playback or exporting.
The first thing to determine is whether the audio is actually out of sync or whether CapCut is simply struggling to preview your project smoothly. These are different problems and require different solutions.
In this guide, you'll learn how to fix audio out of sync in CapCut on Android, manually align sound with video, correct voiceover timing, troubleshoot audio that drifts over time, and check whether the problem appears only after exporting.
Quick Answer: How to Fix CapCut Audio Out of Sync
If your CapCut audio does not match your video on Android, try these steps:
- Play the original video outside CapCut to check whether the problem already exists.
- Preview the project several times to see whether the delay is consistent.
- Select the separate audio track and move it slightly earlier or later.
- Zoom in on the timeline to make precise adjustments.
- Check whether the video or audio was trimmed, split, or moved accidentally.
- Review any speed changes applied to the footage.
- Restart CapCut if the preview is stuttering or behaving inconsistently.
- Close unnecessary apps if your phone is struggling to play the timeline smoothly.
- Export a short test and watch the saved file outside CapCut.
- Update CapCut if the issue continues.
Important: If the audio begins in sync but gradually drifts out of sync, moving the entire track may not solve the problem. You may need to correct the timing at specific points or investigate the source recording.
Why Is Audio Out of Sync in CapCut?
Several different problems can produce a similar result.
1. The Audio Track Is Positioned Incorrectly
If you imported a separate voice recording, music file, or sound effect, its position on the timeline may not match the corresponding visual event.
Even a small timing difference can be noticeable when someone is speaking.
2. The Original Video Already Has a Sync Problem
Sometimes the problem exists in the source video before you import it into CapCut.
If the original recording has delayed audio, editing it without correcting the underlying issue may not produce the result you expect.
3. The Preview Is Lagging
A complex project can be difficult for a phone to preview smoothly. High-resolution footage, multiple layers, effects, and speed changes may make playback appear delayed or uneven.
In this situation, the timeline may be correct even though the preview does not play smoothly.
4. The Audio Track Was Accidentally Moved
When editing a timeline, it is possible to shift a music track, voiceover, or sound effect without noticing.
This often happens after splitting clips, rearranging scenes, or changing the timing of an edit.
5. The Audio Drifts Over Time
If the beginning of a video is synchronized but the end is not, the issue may involve the source recording, variable frame timing, editing changes, or a mismatch between the media streams.
A simple adjustment at the beginning may make the ending even less accurate.
6. The Problem Appears Only After Exporting
If the timeline sounds correct but the saved video does not, the issue may involve rendering, the source media, the project settings, or playback in the app used to watch the exported file.
Testing the exported file independently helps narrow down the cause.
Step 1: Check Whether the Original Video Is Already Out of Sync
Before changing your CapCut project, check the original recording.
How to Test the Source Video
- Open your phone's Gallery or Photos app.
- Find the original video.
- Play it from beginning to end, or check the section where the problem occurs.
- Watch the speaker's mouth or another visible action.
- Compare the movement with the sound.
If the original video is already out of sync, the problem did not necessarily originate in CapCut.
If the original video plays correctly, continue with the next steps.
Why This Matters
Imagine that a person says a word at the three-second mark.
If the original recording already contains delayed sound, the same delay may appear after you import it.
However, if the original recording is correct and the edited project is not, focus on the timeline, editing operations, or playback behavior.
Step 2: Determine Whether the Audio Is Early or Late
Before moving an audio track, identify the direction of the timing error.
There are two common situations.
Audio Plays Too Early
The sound happens before the corresponding action.
For example, you hear a door closing before the door visibly shuts.
To correct this, the audio may need to move slightly later.
Audio Plays Too Late
The sound happens after the corresponding action.
For example, you see someone clap, but the sound of the clap comes afterward.
To correct this, the audio may need to move slightly earlier.
Use a Clear Reference Point
Choose a recognizable event, such as:
- The beginning of a spoken word
- A clap
- A hand touching an object
- A door closing
- A beat in the music
- A sound effect synchronized with a transition
Using the same reference point makes it easier to judge whether your adjustment improves synchronization.
Step 3: Move the Audio Track to Correct the Timing
If your audio is on a separate track, repositioning it is often the simplest fix.
How to Adjust Audio Timing in CapCut on Android
- Open your CapCut project.
- Find the audio track on the timeline.
- Tap the audio track to select it.
- Locate the section where the sound should match the video.
- Zoom in on the timeline if the controls allow it.
- Drag the audio track slightly earlier or later.
- Play the section again.
- Repeat until the sound matches the visual event.
The exact controls and available timeline gestures may vary between CapCut versions.
Example: Fix a Delayed Voiceover
Suppose a voiceover should begin when a person points toward a product, but the voice starts noticeably later.
Move the voiceover earlier in small increments until the first word matches the action.
Do not move it by a large amount immediately. Small adjustments make it easier to identify the correct position.
Example: Fix an Early Sound Effect
Suppose a whoosh sound plays before a transition begins.
Move the sound effect slightly later so that its main impact aligns with the visual change.
For more information about adding and positioning effects, see our guide on How to Add Sound Effects to a Video in CapCut on Android.
Step 4: Zoom In on the Timeline for Precise Adjustments
When the timeline is zoomed out, short audio clips and small timing differences can be difficult to see.
Zooming in can make manual alignment easier.
How to Fine-Tune Audio Placement
- Move the playhead close to the problem area.
- Zoom in on the timeline using the available timeline gesture.
- Locate the audio waveform if one is displayed.
- Compare the waveform with the corresponding video action.
- Adjust the audio track slightly.
- Replay the section.
For speech, compare the beginning of the spoken sound with the visible mouth movement.
For a sound effect, compare the strongest part of the sound with the visual event.
Do not assume that every waveform peak must match a visible movement. The correct reference depends on the audio and video you are editing.
Step 5: Check Whether the Video and Audio Were Trimmed Differently
Trimming or splitting a clip can create synchronization problems if the audio and video are adjusted independently.
For example, you might shorten a video clip while leaving a separate voiceover in its original position.
The voiceover could then begin too early or too late.
How to Check
- Review the timeline around the affected section.
- Look for recently trimmed or split clips.
- Check whether the audio track begins at the intended point.
- Verify that the relevant video action still lines up with the sound.
- Move or trim the audio if necessary.
- Preview the complete section.
If you have several separate video clips, check synchronization at each edit point rather than assuming that correcting one clip fixes the whole project.
Step 6: Fix Audio That Starts in Sync but Drifts Later
This problem requires a different approach from correcting a simple delay.
Imagine that a video begins with perfectly synchronized dialogue, but the sound becomes increasingly early or late toward the end.
Moving the entire audio track changes the starting position, but it does not necessarily correct the growing timing difference.
What to Do
- Identify a point near the beginning where the audio matches.
- Check a second reference point farther into the video.
- Compare the timing difference between those points.
- Inspect the source recording for problems.
- Review any speed changes, splits, or edits.
- If the audio is separate, adjust the relevant sections individually where the timeline permits.
- Preview the middle and ending again.
When Should You Split the Audio?
If the audio matches near the beginning but becomes misaligned later, splitting the audio into sections may help you correct separate portions independently.
A practical workflow is:
- Find the point where the audio starts becoming misaligned.
- Split the separate audio track near that point.
- Move or trim the later section as needed.
- Check the next reference point.
- Repeat only where necessary.
- Preview the transitions between sections to avoid gaps or abrupt changes.
This approach can work for simple timing drift, but it will not repair every source-media problem. If the timing keeps changing unpredictably, investigate the original file or try a different supported version of the recording.
Step 7: Fix Voiceover That Does Not Match the Video
Voiceovers are particularly sensitive to timing differences because viewers naturally compare speech with visible actions.
This can happen when you record narration separately, rearrange scenes, or change the length of a clip.
How to Synchronize a Voiceover
- Open the project containing your video and narration.
- Locate the voiceover track.
- Find the first spoken word or sentence.
- Compare it with the intended visual starting point.
- Move the voiceover earlier or later if needed.
- Check the next sentence.
- Preview the entire narration.
If the first sentence matches but later sentences do not, check whether the voiceover was split, shortened, or moved in separate sections.
Keep Narration Aligned After Editing
If you add or remove footage after recording your narration, recheck the timing.
For example, removing a five-second scene can affect the relationship between the remaining footage and the voiceover if the audio is not adjusted accordingly.
Review the timeline after substantial changes rather than waiting until export.
Step 8: Check Speed Changes and Slow-Motion Edits
Speed adjustments can change how long footage lasts and how its audio behaves.
This matters when you use slow motion, speed ramps, or other timing effects.
How to Check Speed-Related Problems
- Select the video clip that appears out of sync.
- Review its speed settings.
- Check whether the clip uses normal speed, a constant speed adjustment, or a speed curve.
- Preview the relevant section.
- Compare the audio with the action.
- Adjust the audio or revise the timing if necessary.
If you have applied a speed effect to a video while using a separate audio track, the separate audio may need its own adjustment.
Do not assume that changing video speed automatically changes every separate audio track in the way you want.
For a related editing workflow, read our guide on How to Make a Velocity Edit in CapCut on Android.
Step 9: Fix CapCut Audio Sync Problems Caused by Lagging Preview
Sometimes the audio appears out of sync because CapCut cannot play the project smoothly in real time.
This is different from a track that is genuinely positioned incorrectly.
Signs of a Preview Performance Problem
- Playback stutters or freezes.
- The sound becomes choppy while the video preview skips frames.
- The problem is worse when several effects or layers are active.
- Playback improves after closing other applications.
- The exported file appears more synchronized than the editor preview.
These clues suggest that playback performance may be involved, although they do not prove it.
What to Try
- Save your project if the app provides a save option.
- Close unnecessary background applications.
- Make sure your phone has enough free storage.
- Restart CapCut.
- Restart your phone if necessary.
- Preview the project again.
- Export a short test to compare the result.
Avoid making major timeline changes solely to correct a preview that is visibly struggling to play smoothly.
For more help, see How to Fix CapCut Lagging on Android While Editing.
Step 10: Check Whether the Exported Video Is Actually Out of Sync
If the timeline appears correct, do not immediately rebuild the project.
First, inspect the exported video.
How to Test the Export
- Export a short section containing the synchronization problem.
- Wait for the export to finish.
- Open the saved file in your phone's Gallery or another reliable video player.
- Play the same section.
- Compare the sound with the visible action.
There are two important possibilities.
The exported video is synchronized: The issue may be related to the editing preview or playback performance.
The exported video is still out of sync: The problem may involve the timeline, source media, editing operations, or export behavior.
If the exported file is incorrect, make one small adjustment at a time and export another short test before repeating the full export.
This can save time when working with long videos.
Step 11: Restart CapCut and Clear Temporary Cache if Necessary
A temporary app problem can sometimes affect playback or editing behavior.
Try closing and reopening CapCut first.
If the issue persists, consider clearing its temporary cache.
Clear Cache Safely
Depending on your version, you may find a Clear Cache option in CapCut's settings or under Android's app storage settings.
Review the available options carefully.
Clear Cache is not the same as Clear Data.
Clearing app data or uninstalling CapCut can put locally stored drafts and project information at risk. Back up important work before considering those steps.
Cache clearing may help with temporary app issues, but it will not correct an audio track that is simply positioned incorrectly.
Step 12: Update CapCut if the Problem Continues
An outdated app version may contain bugs or compatibility problems.
To check for an update:
- Open the Google Play Store if you installed CapCut from there.
- Search for CapCut.
- Open its app listing.
- Check whether an update is available.
- Install an update if appropriate.
- Reopen your project and test the same section.
If you installed the app from another source, use a trusted source and make sure the version is compatible with your existing installation.
Do not uninstall the app just to install a different version without protecting your drafts first.
Step 13: Check the Original Recording and Audio File
If the problem remains after adjusting the timeline, inspect the media itself.
Possible issues include a damaged recording, unsupported media, or timing problems that existed before importing the file.
Test the Source Files
- Play the original video outside CapCut.
- Play the separate audio file independently if applicable.
- Check whether either file skips, freezes, or stops unexpectedly.
- If you have a legitimate alternative copy of the same recording, compare it.
- Reimport the media only if you have confirmed that doing so is safe for your project.
If the source video contains embedded audio that is already out of sync, manually moving an unrelated music track may not solve the underlying issue.
For complicated recordings, a desktop editing tool with more detailed synchronization controls may be worth considering.
Common CapCut Audio Synchronization Problems
| Problem | What to try first |
|---|---|
| Voice starts too early | Move the separate voiceover later |
| Voice starts too late | Move the separate voiceover earlier |
| Sound effect happens before the action | Reposition the effect |
| Audio starts in sync but drifts later | Inspect source media and correct timing at separate points |
| Preview stutters while editing | Reduce background workload and test an export |
| Exported video is out of sync | Check timeline alignment and source media; test a short export |
| Only one clip is affected | Inspect that clip's timing, speed, and audio |
| Problem began after trimming | Review the affected edit points |
| Original video is already out of sync | Investigate the source recording before editing |
| Audio is correct in one player but not another | Compare the saved file in another reliable player |
Tips to Prevent Audio Sync Problems in Future Projects
1. Check the Source Before Editing
Play the original recording before importing it. This makes it easier to distinguish source problems from editing mistakes.
2. Keep Important Audio Easy to Identify
When using separate narration, music, and sound effects, keep track of their positions on the timeline.
3. Preview After Major Changes
After splitting clips, changing speed, or rearranging scenes, review the relevant audio timing.
4. Use Short Test Exports
Before exporting a long project, test a short section when you suspect a synchronization issue.
5. Avoid Changing Too Many Settings at Once
Make one adjustment, preview the result, and then decide whether another change is necessary.
6. Protect Your Drafts
Keep backups of important media and projects where possible. Avoid clearing app data or uninstalling CapCut without understanding the consequences.
Frequently Asked Questions
Why is my audio out of sync in CapCut on Android?
The audio track may be positioned incorrectly, the original recording may already contain a timing problem, or CapCut's preview may be struggling to play smoothly. Check the original video first, then compare the timeline with the exported result.
How do I move audio earlier in CapCut?
Select the separate audio track and reposition it earlier on the timeline using the available controls. Zoom in and make small adjustments until the sound matches the corresponding action.
How do I fix audio that is ahead of the video?
If the sound happens before the corresponding visual event, try moving the separate audio track slightly later. Preview the section after each adjustment.
Why does my audio start in sync but become delayed later?
This may indicate timing drift rather than a simple starting-position error. Inspect the original recording, speed changes, and edit points. You may need to adjust separate sections instead of moving the entire track.
Why does CapCut sound out of sync while editing but look correct after export?
The editor preview may be struggling to play the project smoothly. Compare the timeline with the exported file in another player before changing the timing of your audio tracks.
Why is my voiceover out of sync after trimming a video?
Trimming or rearranging video clips can change the relationship between the footage and a separately recorded voiceover. Review the affected sections and reposition the narration as needed.
Does changing video speed affect audio synchronization?
It can. Speed changes alter the duration of footage, and separate audio tracks may need additional adjustments. Review the audio timing after applying speed effects.
Will clearing CapCut cache fix audio synchronization?
It may help with certain temporary app problems, but it will not fix a track that is incorrectly positioned. Check the timeline and original media before relying on cache clearing.
Should I reinstall CapCut to fix audio sync?
Reinstallation should not be your first step. Check the source video, adjust the timeline, test an export, restart the app, and consider updating it. Protect important drafts before any disruptive action.
What should I do if audio is still out of sync after exporting?
Check the original source, verify the audio and video positions, and test a short export after making a small adjustment. If the problem persists, document the affected clip, app version, phone model, and steps that reproduce the issue before contacting CapCut Support.
Final Thoughts
Audio synchronization problems in CapCut on Android can come from a misplaced audio track, an issue in the original recording, timing changes during editing, or a preview that is struggling to play smoothly.
Start by checking the source video, then identify whether the sound is early, late, or gradually drifting. If the audio is on a separate track, use the timeline to make small adjustments and preview the result.
If the timeline appears correct, test a short export before rebuilding the project. Comparing the saved video with the editor preview can help you identify whether the issue is related to playback or the actual output.
With careful testing and small, targeted adjustments, you can usually narrow down the problem without unnecessarily risking your existing drafts.
Related Articles
How to Fix CapCut No Internet Connection on Android
CapCut says No Internet Connection on Android? Fix templates that won't load, online effects, AI tools, and syncing issues with these troubleshooting steps.
GetApkFree Team
How to Fix Black Screen When Importing Videos in CapCut on Android
CapCut showing black screens when importing videos or photos on Android? Fix blank previews, unsupported formats, slow loading, and media access problems.
GetApkFree Team
How to Fix CapCut Keeps Crashing on Android
CapCut keeps crashing on Android? Fix unexpected app closures, startup crashes, project loading failures, freezing, and crashes during editing.
GetApkFree Team
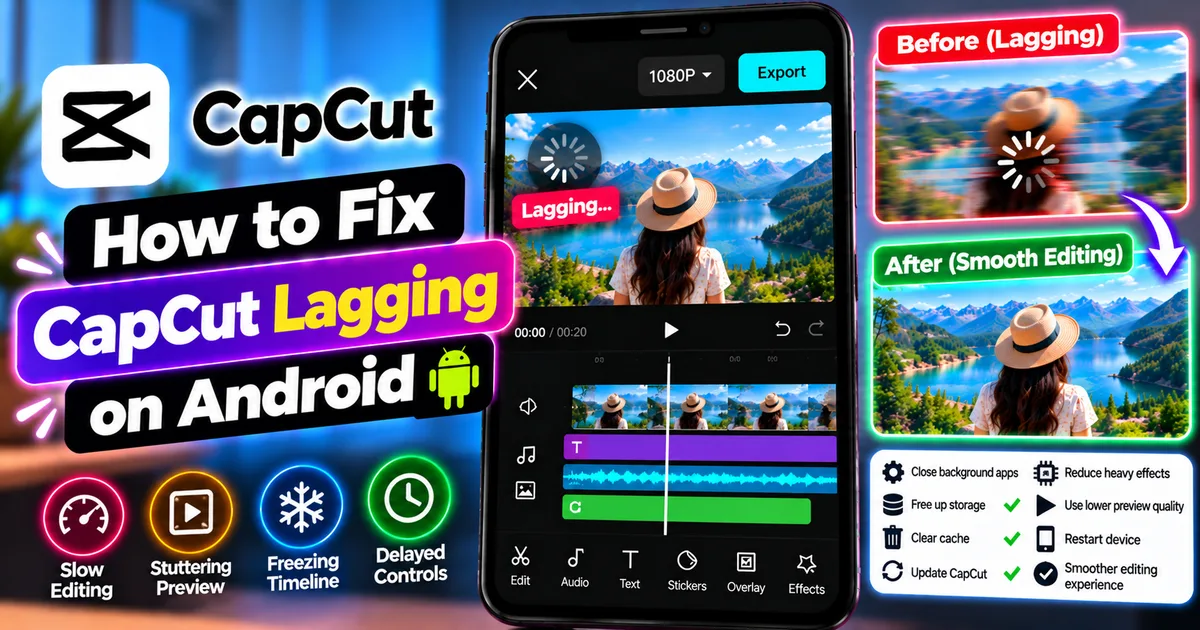
How to Fix CapCut Lagging on Android While Editing
CapCut lagging on Android? Fix slow editing, a stuttering preview, delayed controls, timeline freezing, and performance issues with practical steps.
GetApkFree Team