
This article is about
CapCut Premium
capcutdownload.com.pk · Tools
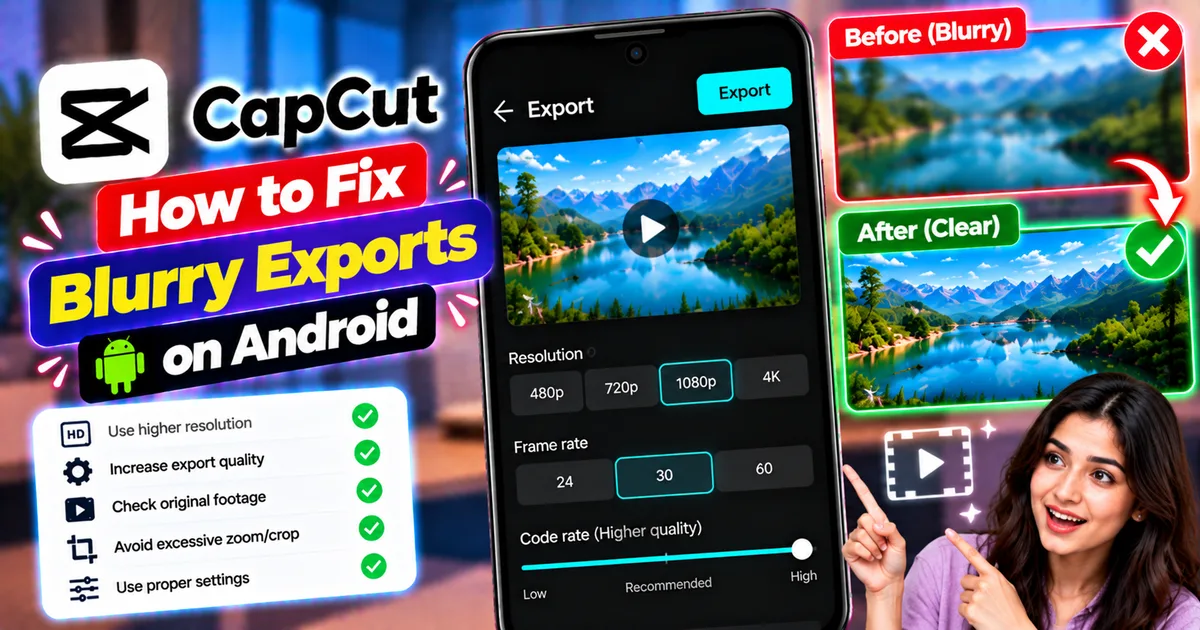
How to Fix Blurry CapCut Exports on Android
GetApkFree Team
Is your CapCut export blurry on Android? Learn how to check resolution, bitrate, source footage, cropping, and export settings for clearer videos.
- Source
- Developer
- Package
- CapCut Premium
How to Fix Blurry CapCut Exports on Android
Have you finished editing a video in CapCut, only to discover that the saved video looks blurry, pixelated, or less detailed than it appeared while editing? This can be frustrating, especially when you want to upload your video to YouTube, Instagram Reels, TikTok, or another social platform.
A blurry export does not always mean CapCut has damaged your video. The problem may come from the original footage, the project resolution, export quality settings, excessive cropping, or compression applied by another app or platform.
Sometimes the video only looks blurry inside CapCut because the editor uses a lower-quality preview to keep playback smooth. In other cases, the exported file itself genuinely has reduced sharpness.
This guide explains how to identify the cause and fix blurry CapCut exports on Android. You will learn how to check the original video, choose suitable export settings, avoid unnecessary quality loss, and troubleshoot videos that become blurry after uploading.
Quick Answer: How to Fix Blurry CapCut Exports
If your exported video looks blurry on Android, try these steps:
- Play the exported video in your phone's Gallery or another media player to confirm that the file itself is blurry.
- Check whether your original footage is already low-resolution or out of focus.
- Select an export resolution appropriate for your source footage.
- Choose a higher bitrate or quality setting if CapCut provides that option.
- Avoid excessive zooming, cropping, and repeated exporting.
- Check whether the project contains low-quality images or compressed video clips.
- Export a short test clip and compare it with the original.
- If the video becomes blurry only after uploading, check the destination platform's processing and upload settings.
The most important step is to identify where the quality loss occurs. This prevents you from changing settings that are unrelated to the actual problem.
Why Does CapCut Export Blurry Videos?
Several factors can affect the sharpness of a finished video. Understanding the cause helps you choose the right solution.
1. The export resolution is too low
Resolution describes the number of pixels used to display a video. A video exported at a lower resolution contains less image detail than a higher-resolution version of the same footage.
For example, exporting a 1080p project at 480p can make small details less clear, especially when the video is viewed on a large screen.
If your original footage is 1080p, exporting at 1080p is generally a sensible starting point.
2. The export bitrate is too low
Bitrate determines how much data is used to represent video over time. A lower bitrate can create compression artifacts, blocky textures, smeared details, and loss of fine image information.
This is particularly noticeable in footage containing:
- Fast movement
- Leaves, grass, and detailed backgrounds
- Hair and textured clothing
- Water, smoke, or other complex movement
- Rapid camera movement
A higher bitrate can preserve more detail, although it usually increases file size. It cannot fully restore details that were missing from the original recording.
3. The original video is already blurry
CapCut cannot reliably recover all the detail lost when a video was recorded out of focus, heavily compressed, or at a low resolution.
If the source video is blurry before editing, the exported version may remain blurry even when you select the highest available quality setting.
4. You have zoomed or cropped the footage too much
Digital zoom enlarges part of an existing image. When you enlarge footage beyond its original detail, the video may become pixelated or soft.
For example, zooming significantly into a 720p clip and exporting it at 1080p does not create genuine 1080p detail.
5. The video is being compressed after export
Your saved CapCut video might look clear in your phone's Gallery but become softer after being uploaded to a social media platform.
This can happen because the platform processes uploaded videos and may compress them to reduce storage and delivery requirements.
If the local file looks clear but the uploaded version does not, investigate the upload process before changing your entire CapCut project.
Step 1: Check Whether the Exported File Is Actually Blurry
Before changing export settings, determine whether the problem affects the final video or only the editing preview.
Follow these steps:
- Open CapCut on your Android phone.
- Open the project you edited.
- Check whether the footage looks blurry inside the editor.
- Export the video if you have not already done so.
- Open the saved file in your phone's Gallery or another media player.
- Play it at normal size and inspect a few detailed areas.
Compare the exported video with the original footage under similar viewing conditions.
If the exported file looks sharp but the preview looks blurry, you may not need to change your export settings. CapCut's preview quality can be reduced to improve editing performance.
If the exported file is also blurry, continue with the following steps.
Step 2: Choose the Correct Export Resolution
Resolution is one of the first settings to check when your final video lacks detail.
How to change the resolution in CapCut on Android
- Open your existing project in CapCut.
- Finish editing the video.
- Locate the resolution label near the Export button. Depending on your version, it may display an option such as 720p, 1080p, or another supported resolution.
- Tap the resolution label.
- Select a suitable resolution from the available options.
- Return to the export screen and save the video.
- Play the new file and compare its quality with the previous export.
The exact controls and available resolutions may differ between CapCut versions and Android devices.
Which resolution should you choose?
| Original footage | Suggested starting point |
|---|---|
| 480p video | 480p or a higher output size if needed, without expecting added source detail |
| 720p video | 720p for a source-matched export, or 1080p when appropriate |
| 1080p video | 1080p |
| 4K video | 4K when supported and when the project retains the source detail |
These are practical starting points, not guarantees of quality. The best setting also depends on the intended platform, project settings, and device capabilities.
Important: Selecting a higher resolution does not automatically make a low-resolution source look sharper. Upscaling can increase the output dimensions, but it cannot recreate all the original detail.
Step 3: Increase the Export Quality or Bitrate
If the resolution is already appropriate but the video still looks pixelated or compressed, check whether CapCut provides additional export-quality controls.
Depending on your version and device, available settings may include a quality selector, bitrate control, or other export options.
What to do
- Open your project in CapCut.
- Tap the resolution or export-settings control near the Export button.
- Review the available quality settings.
- If a higher-quality option or bitrate control is available, select a suitable higher setting.
- Keep the resolution appropriate for your source footage.
- Export a test version and inspect the result.
If your version allows manual bitrate selection, increasing it can help preserve more detail in complex or fast-moving footage.
Do not assume that every Android version of CapCut exposes the same bitrate controls. If you cannot find a manual bitrate option, use the available quality settings instead.
Does a higher bitrate always mean better video?
Not necessarily. A higher bitrate can help reduce compression-related detail loss, but the result also depends on the original footage, codec, resolution, and other export settings.
Higher bitrate also means a larger file in many cases.
Choose a setting that balances visual quality, file size, and compatibility with your intended platform.
Step 4: Start With the Highest-Quality Original Footage
If the original file is low-quality, export settings alone may not solve the problem.
Before editing, check the video you imported into CapCut.
Ask yourself:
- Was the original recording already blurry?
- Was the video downloaded from a messaging app that compressed it?
- Did you receive a low-resolution copy instead of the original?
- Was the footage recorded in poor lighting?
- Was the camera focused on the wrong subject?
- Did you repeatedly save and re-upload the same video?
Whenever possible, import the original camera recording or the best-quality copy available.
Avoid repeatedly exporting a compressed video, importing that export into another project, and exporting it again. Each additional lossy compression step can reduce image quality.
If your source is a screen recording, gameplay clip, or downloaded video, check the recording or download settings as well.
Step 5: Avoid Excessive Zooming and Cropping
A video can become noticeably softer when you enlarge a small section of the frame.
This often happens when editing vertical videos from horizontal footage or when trying to make a distant subject fill the screen.
How to reduce quality loss
- Open your CapCut project.
- Select the clip that looks blurry.
- Inspect its scale, crop, and position.
- Reduce unnecessary zooming.
- Keep important subjects within the original frame when possible.
- Preview the clip and export a short test.
If you are turning a horizontal video into a vertical Reel or Short, some cropping may be necessary. Try to preserve as much of the original image as possible while keeping the subject visible.
If you need a different aspect ratio, see our guide on how to resize a video in CapCut for related editing considerations. For background treatment, our guide on blurring a video in CapCut on Android may also help when adapting footage to a different layout.
Step 6: Check Whether the Project Uses Low-Quality Media
A project may contain clips from several sources, and not every clip will have the same quality.
For example, you might combine a sharp 1080p recording with a compressed 480p clip. The lower-quality section may remain noticeably softer after export.
To investigate:
- Open the project.
- Play the timeline and identify the sections that look blurry.
- Compare each section with its original source file.
- Check whether the problem affects only one clip or the entire project.
- If a source file is poor quality, replace it with a better copy when possible.
- Export a short test to confirm the difference.
If only one section is blurry, avoid changing the settings for the entire video until you have checked that clip.
Step 7: Avoid Overusing Sharpening and Enhancement Effects
Sharpening and enhancement tools can sometimes make soft footage look clearer. However, excessive sharpening can introduce visible outlines, noise, and unnatural textures.
If your version of CapCut includes suitable adjustment or enhancement tools, use them carefully.
A safer adjustment workflow
- Select the affected clip.
- Open the available adjustment or enhancement controls.
- Make small changes to sharpening or clarity if those controls are available.
- Preview the result at normal viewing size.
- Compare it with the original footage.
- Export a short test before applying the same changes throughout the project.
Do not increase every enhancement setting to its maximum. The goal is to improve perceived clarity without creating new artifacts.
Enhancement tools also cannot reliably restore information that was never captured by the camera.
Step 8: Fix Blurry Videos After Uploading to Social Media
Sometimes the CapCut export is fine, but the uploaded video looks worse.
In this situation, exporting again at a higher resolution may not be the first thing to try.
Check the saved file first
Open the local exported video and compare it with the version you see on the platform.
- If both look blurry, investigate CapCut's export settings and the source footage.
- If the local file looks sharp but the uploaded video looks blurry, investigate the platform's upload and processing settings.
What you can try
- Upload the original exported file rather than a copy that has already been compressed by another app.
- Use the platform's available high-quality upload option, if one exists.
- Check the platform's recommended video dimensions and format.
- Allow processing to finish before judging the final quality.
- Compare the uploaded video after processing at the same playback resolution.
Streaming services and social platforms may initially show a lower-resolution version while processing. The exact behavior depends on the service.
Avoid repeatedly exporting and uploading the same video without identifying where the quality loss occurs.
Step 9: Check Whether the Problem Is Limited to One Project
If the same export settings produce a clear video in one project but a blurry video in another, the problem may be related to the footage or project rather than the entire app.
Create a short test project:
- Open CapCut.
- Create a new project with a clear original video.
- Avoid adding filters, excessive zoom, or complicated effects.
- Select an appropriate resolution and quality setting.
- Export a short sample.
- Compare the exported sample with the original.
If the test video looks clear, investigate the original project's clips, cropping, effects, and timeline settings.
If the test export is also blurry, review the export settings and original source quality before trying more disruptive troubleshooting steps.
Step 10: Troubleshoot CapCut if Quality Problems Persist
If the exported video remains unexpectedly blurry despite appropriate settings, try basic app troubleshooting.
Restart CapCut
Close the app and reopen it. Then test whether the same problem occurs.
Check for an update
An outdated version may behave differently from a newer release. Check your normal app store or CapCut's official download source for an available update.
Check available storage
Make sure your phone has enough free storage to handle editing and exporting. Low storage can cause other export problems, although it does not automatically explain every blurry video.
Clear the app cache carefully
If CapCut is behaving abnormally, you can consider clearing its cache through Android's app settings.
Be careful not to select Clear data or uninstall the app without understanding the consequences. These actions may affect local projects or other app data. Back up important work before taking any step that could remove it.
If the problem continues, consult CapCut's official export quality guidance and export troubleshooting page.
Best CapCut Export Practices for Clearer Videos
Use these habits to reduce avoidable quality loss in future projects.
Match the export resolution to the source
Use a resolution appropriate for your original footage and intended output. Do not assume that selecting the largest available number guarantees the clearest result.
Choose an appropriate bitrate
If your version offers a bitrate control, select a suitable quality level. More complex footage may benefit from a higher bitrate, but the file will generally be larger.
Preserve the original source files
Keep your original recordings whenever possible. They give you a better starting point if you need to edit or export again.
Limit unnecessary cropping
Avoid excessive digital zoom, especially when the source footage is already low-resolution.
Check the final file before uploading
Watch the exported video locally before sharing it. This helps you distinguish export problems from platform compression.
Test before exporting a long project
If you are unsure about the settings, export a short section first. It is faster to compare a small sample than to repeatedly export an entire video.
Common Problems and Their Solutions
| Problem | What to check |
|---|---|
| Video looks blurry only in the editor | Preview quality and playback performance |
| Export looks pixelated | Bitrate, source quality, and compression |
| Video looks soft after zooming | Crop and scaling |
| Only one section is blurry | Original clip quality and effects |
| Video looks clear locally but blurry online | Upload quality and platform processing |
| Higher resolution does not improve sharpness | Original footage and digital enlargement |
| Sharpening makes the video look unnatural | Reduce sharpening and enhancement strength |
| Every new export looks blurry | Export settings, source footage, and a short test project |
Frequently Asked Questions
Why does my CapCut video look blurry after exporting?
The cause may be a low export resolution, insufficient bitrate, poor source footage, excessive cropping, or compression applied after export. Check the saved file first to identify where the quality loss occurs.
How do I export a high-quality video in CapCut on Android?
Choose a resolution appropriate for the original footage and select a suitable higher-quality setting when available. Preview the final file before uploading it.
Does exporting in 4K make a blurry video clear?
Not necessarily. Exporting in 4K can provide a larger output frame, but it cannot recreate all the detail missing from low-resolution or out-of-focus footage. Your device and version of CapCut must also support the chosen export option.
Why is my CapCut preview blurry but the exported video clear?
The editor may use a lower-quality preview to keep playback smooth. Check the exported file in your Gallery or another media player before changing your settings.
Why does CapCut reduce video quality?
Quality can be affected by the selected export settings, compression, the original footage, and editing choices such as excessive cropping. The exact cause depends on the project and device.
Does a higher bitrate improve video quality?
A higher bitrate can preserve more detail by reducing compression artifacts, especially in complex or fast-moving scenes. However, it cannot restore missing source detail, and it generally increases file size.
Why does my video become blurry after uploading to Instagram or YouTube?
The platform may process and compress the video, or it may initially display a lower-resolution version. Compare the uploaded version with your local export and check the platform's quality settings.
Can I make a low-quality video look like 4K in CapCut?
You can export at a higher resolution if the available settings allow it, and some enhancement tools may improve perceived clarity. However, changing the output resolution alone does not create genuine detail that was absent from the original footage.
Does sharpening fix every blurry video?
No. Sharpening may improve the appearance of slightly soft footage, but it cannot reliably fix severe motion blur, incorrect focus, or missing image detail. Too much sharpening can also make the video look worse.
Should I reinstall CapCut to fix blurry exports?
Not as a first step. Check the original footage, export settings, and a short test project before considering reinstalling the app. Protect important projects before taking actions that could remove local data.
Final Thoughts
If your CapCut export looks blurry on Android, start by checking the saved video rather than immediately changing every setting. Confirm that the original footage is clear, choose a suitable export resolution, review the available quality or bitrate controls, and avoid excessive cropping.
If the video looks sharp in your Gallery but blurry after uploading, focus on the destination platform's processing and upload settings instead.
A short test export can help you find the cause without repeatedly rendering the entire project. With the right settings and a good source file, you can reduce avoidable quality loss and produce clearer videos for your intended audience.
Related Articles
How to Fix CapCut Exported Video Not Showing in Gallery
CapCut exported video not showing in your Android Gallery? Find saved videos, check permissions, refresh media, and fix missing exports step by step.
GetApkFree Team
How to Fix Audio Out of Sync in CapCut on Android
Is CapCut audio out of sync on Android? Fix delayed sound, drifting audio, voiceover timing, and exported videos with these practical troubleshooting steps.
GetApkFree Team
How to Fix CapCut No Internet Connection on Android
CapCut says No Internet Connection on Android? Fix templates that won't load, online effects, AI tools, and syncing issues with these troubleshooting steps.
GetApkFree Team
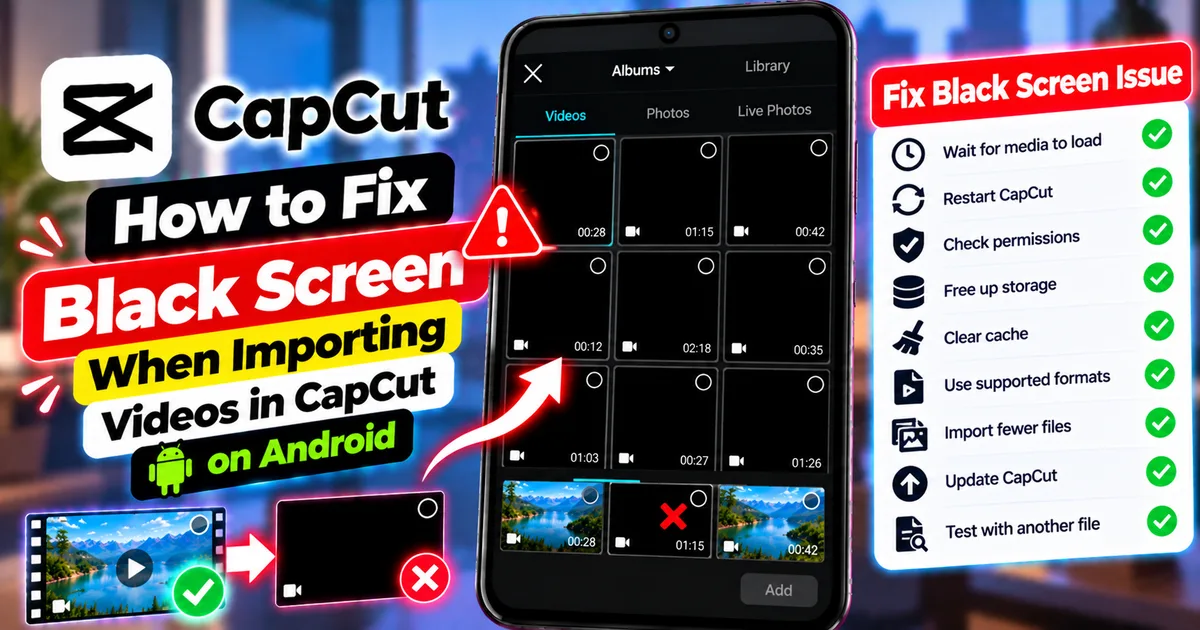
How to Fix Black Screen When Importing Videos in CapCut on Android
CapCut showing black screens when importing videos or photos on Android? Fix blank previews, unsupported formats, slow loading, and media access problems.
GetApkFree Team